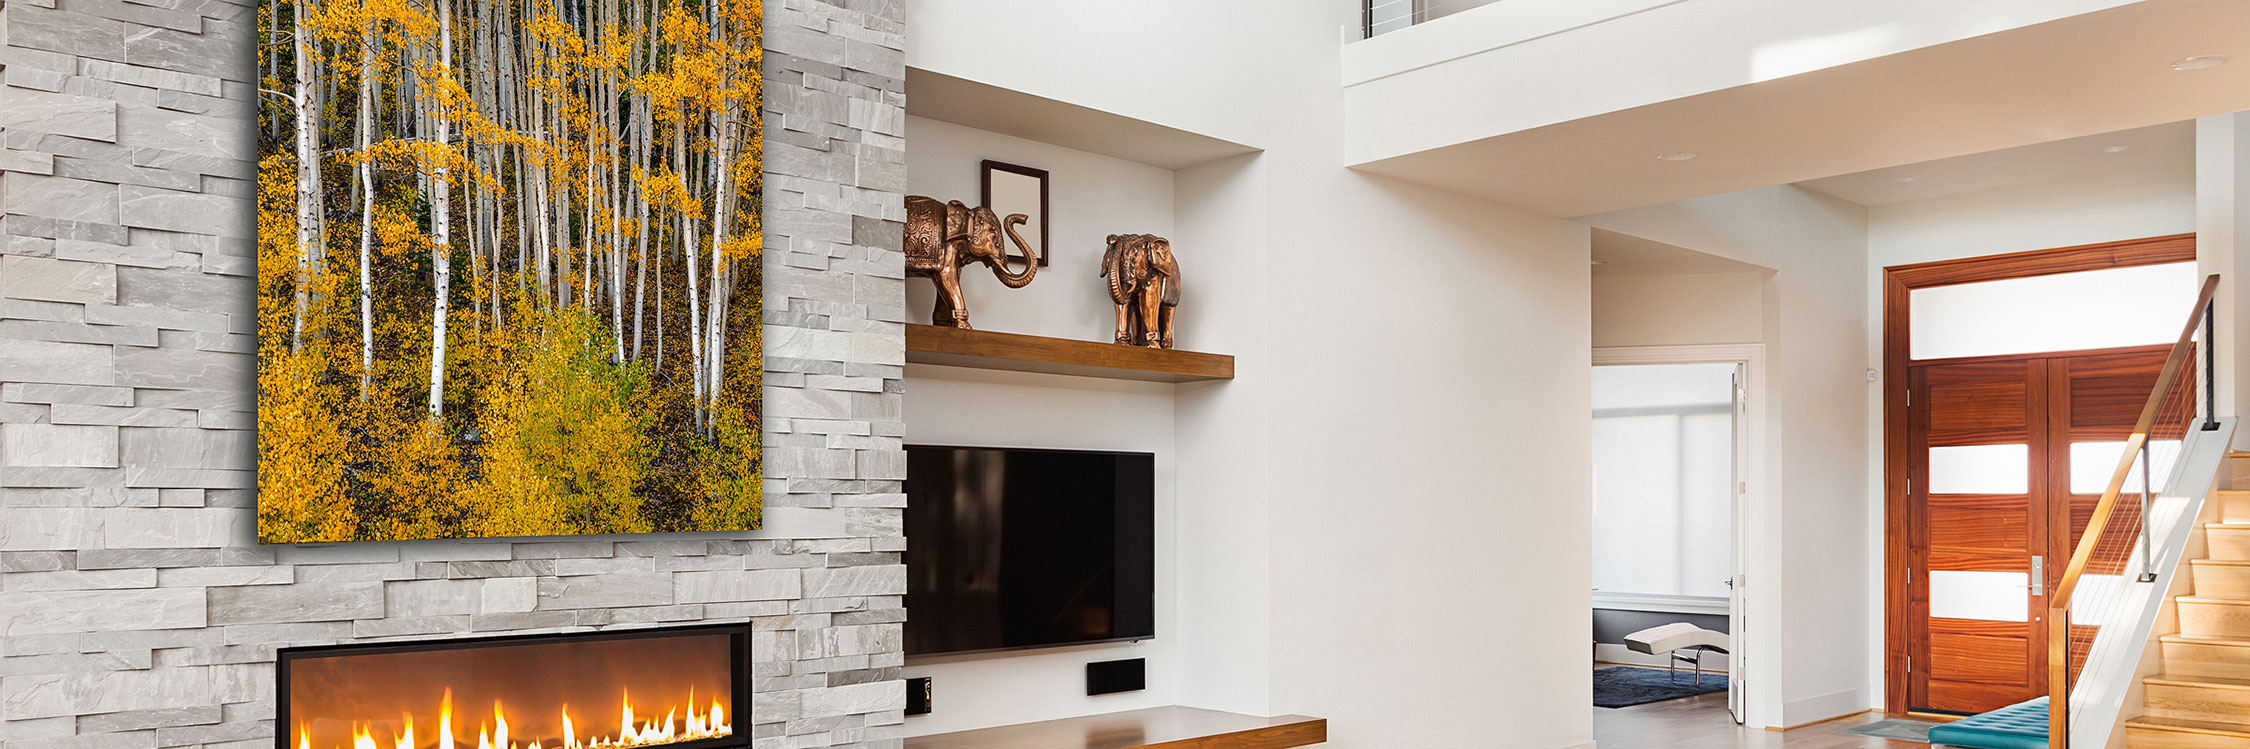
How to Hang Wall Art: The Complete Guide

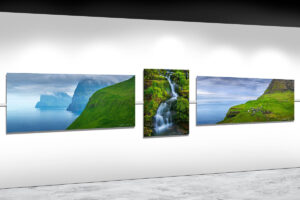
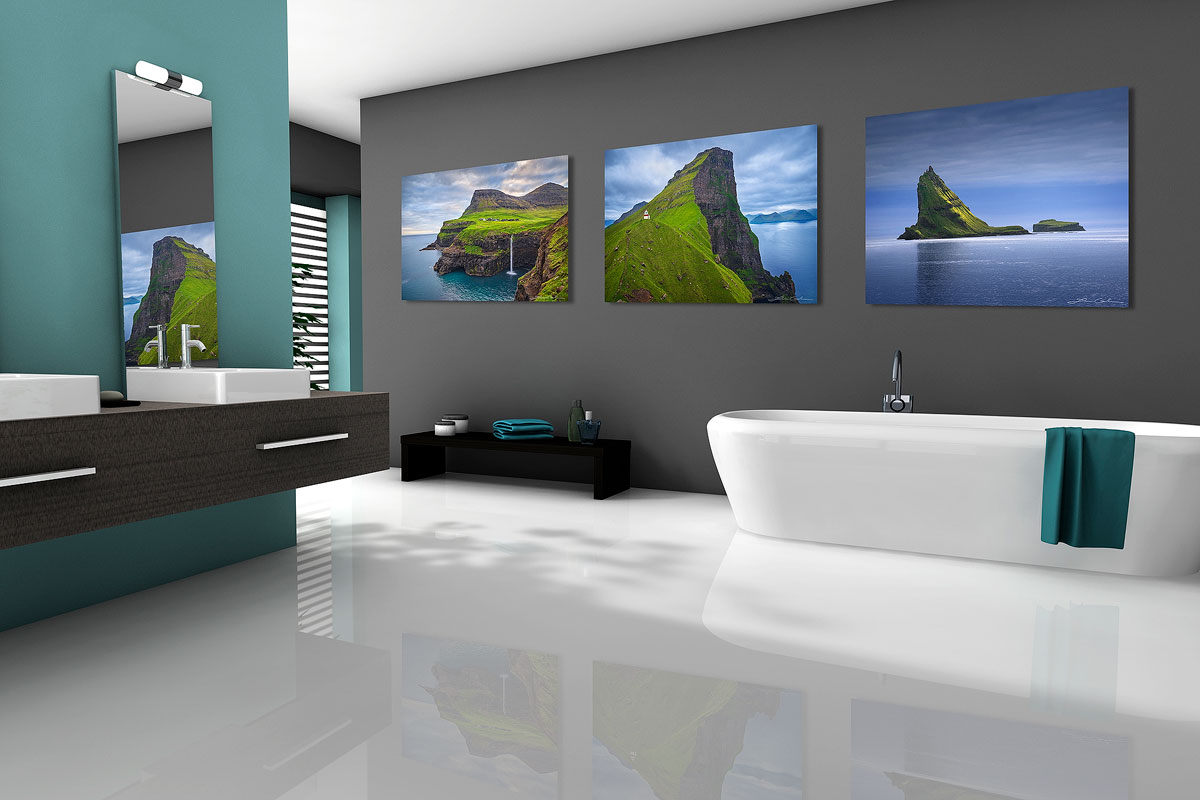
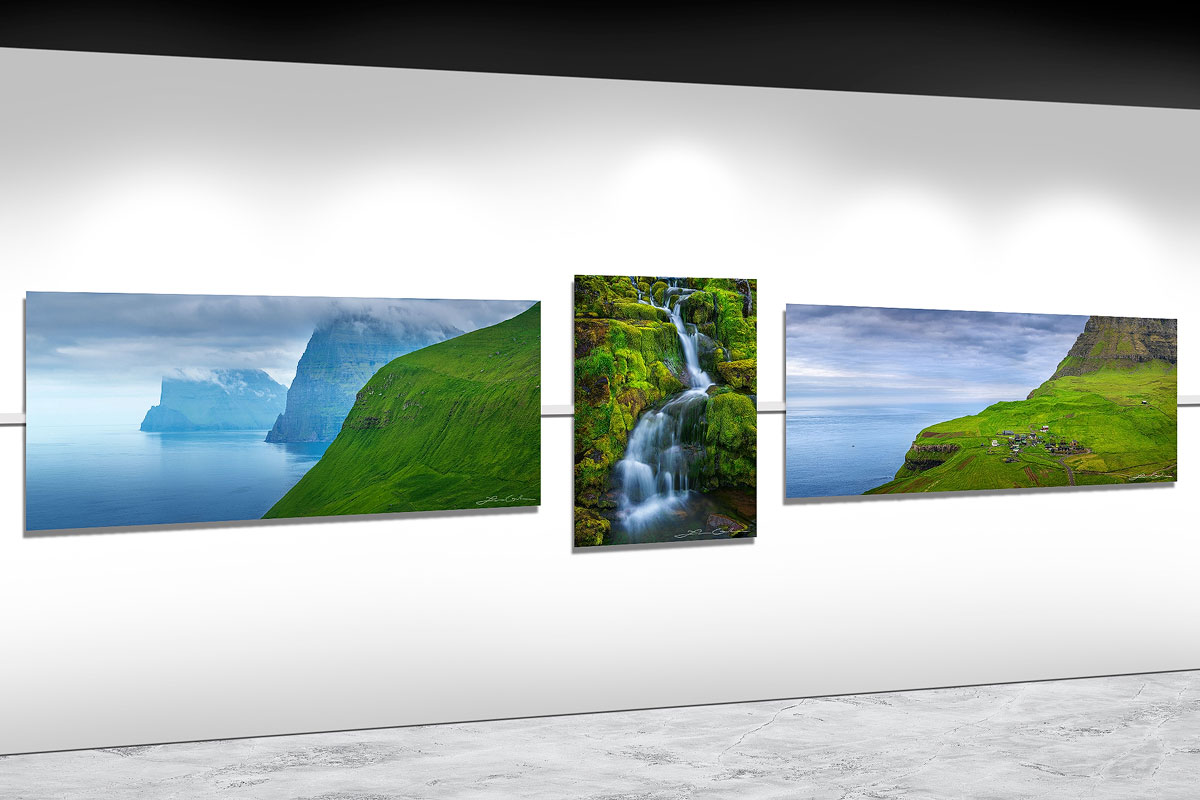
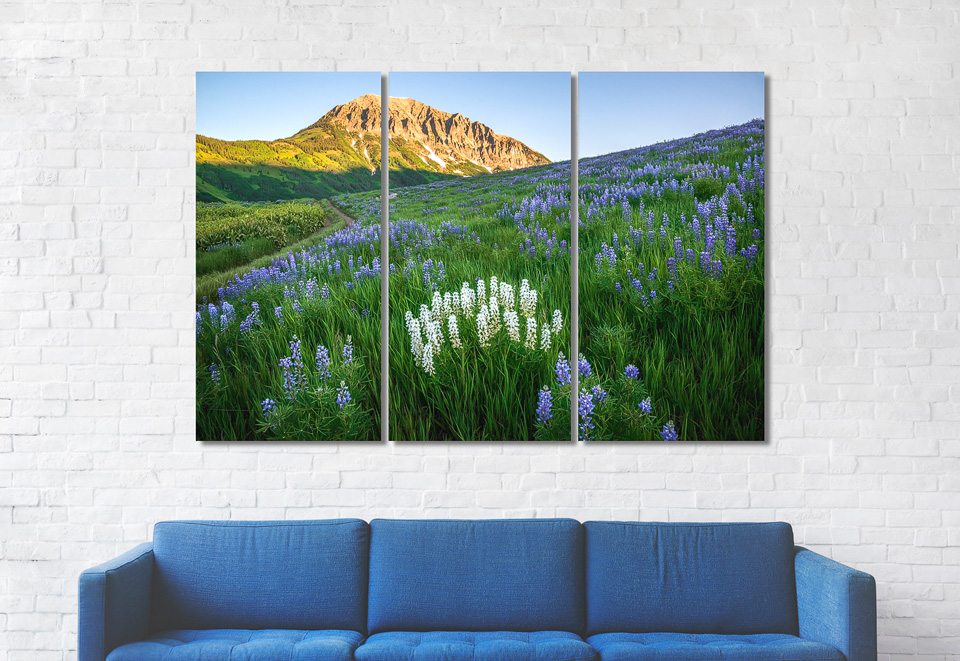
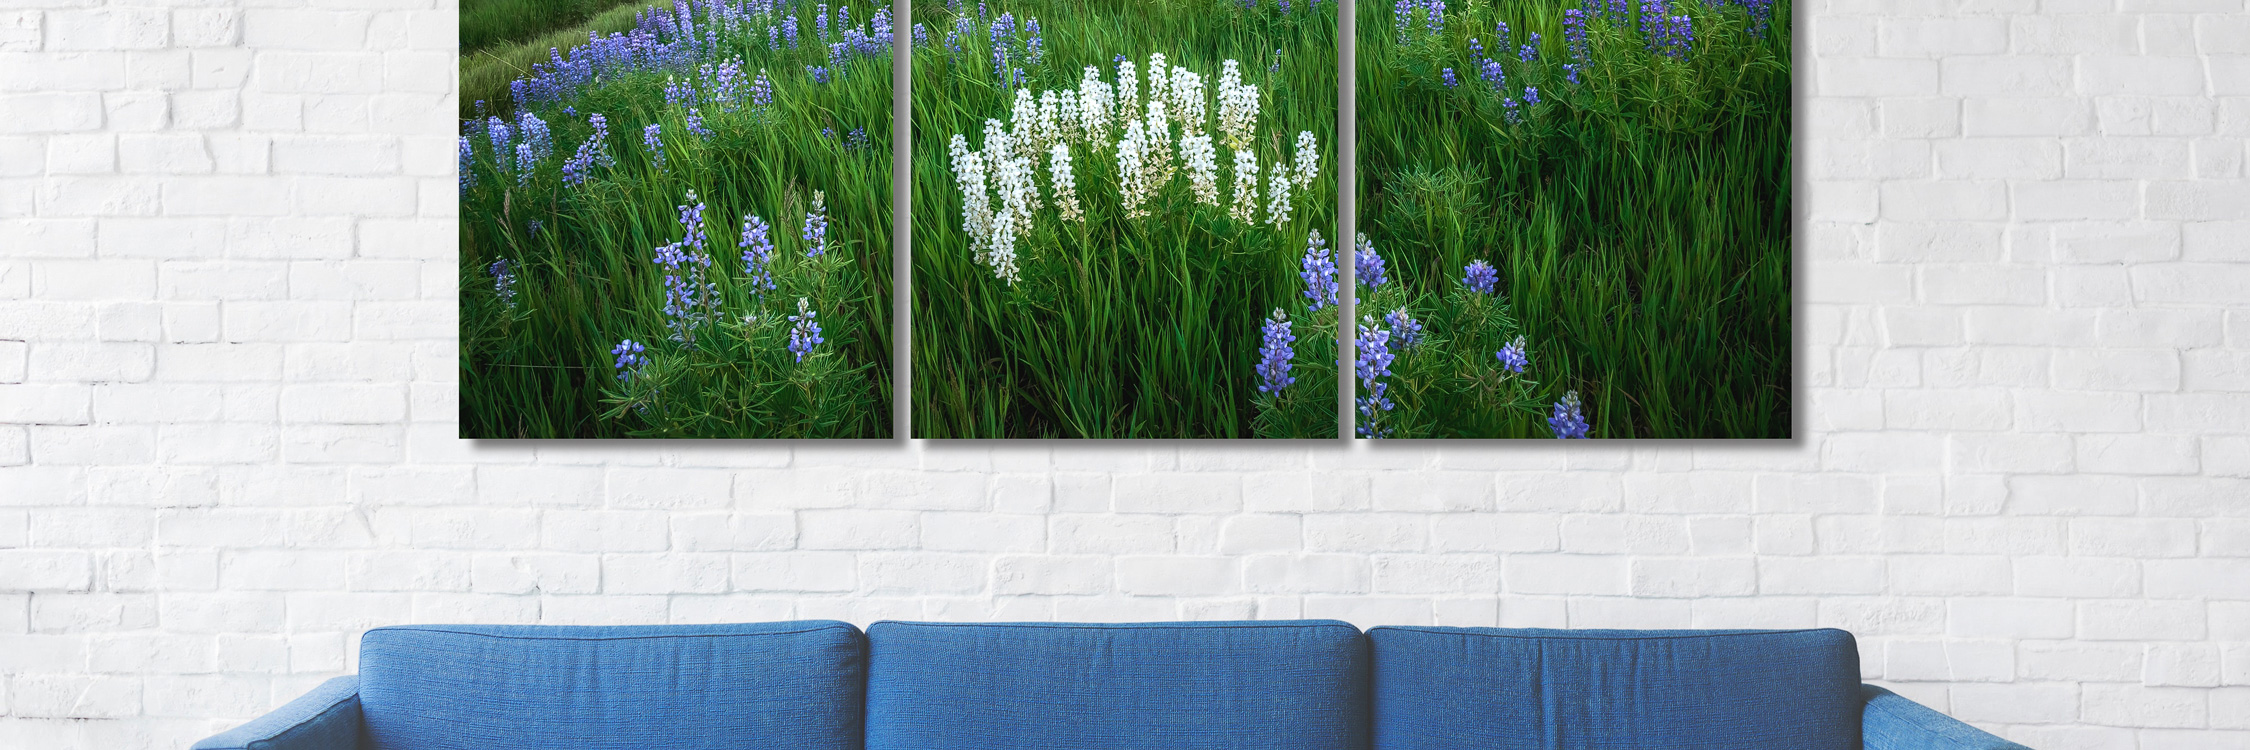
Create a Home Gallery Wall: A How-To Guide
DESIGN A HOME PHOTO & WALL ART GALLERY WALL Create a home gallery wall and make it look professional. Whether you use photography prints, or

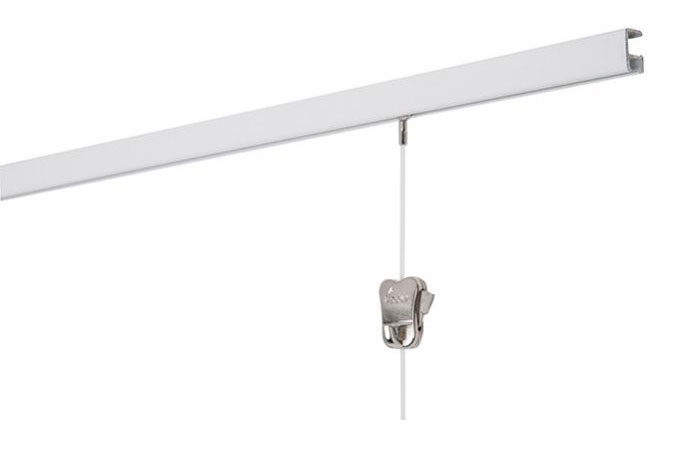
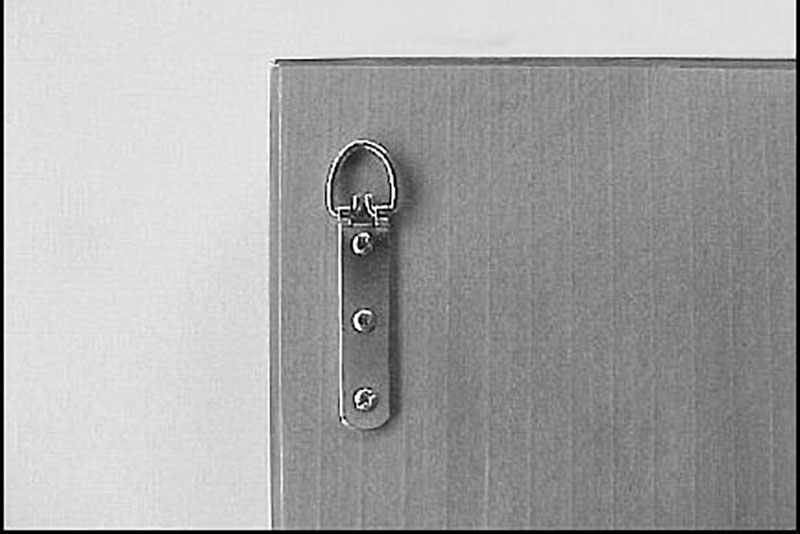
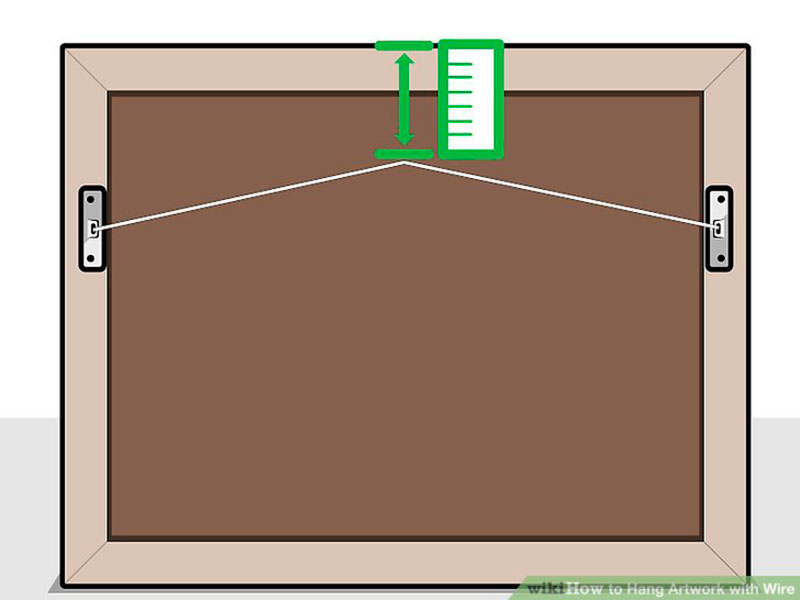
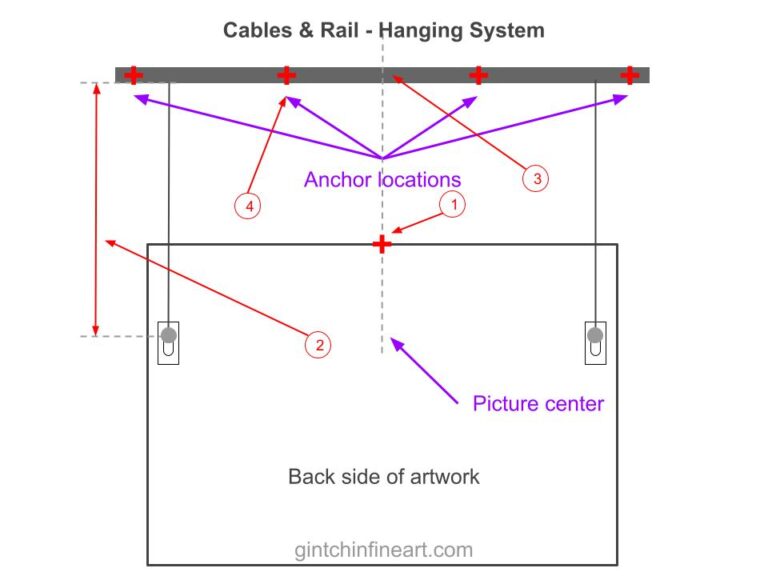
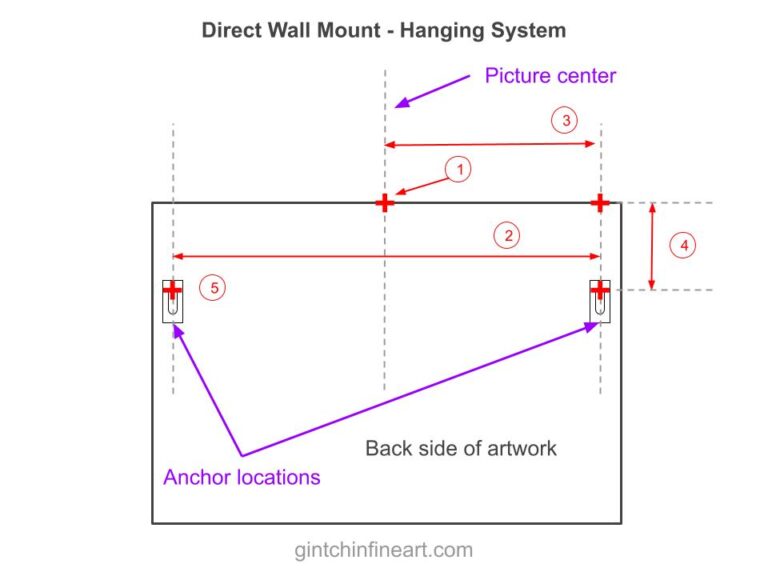
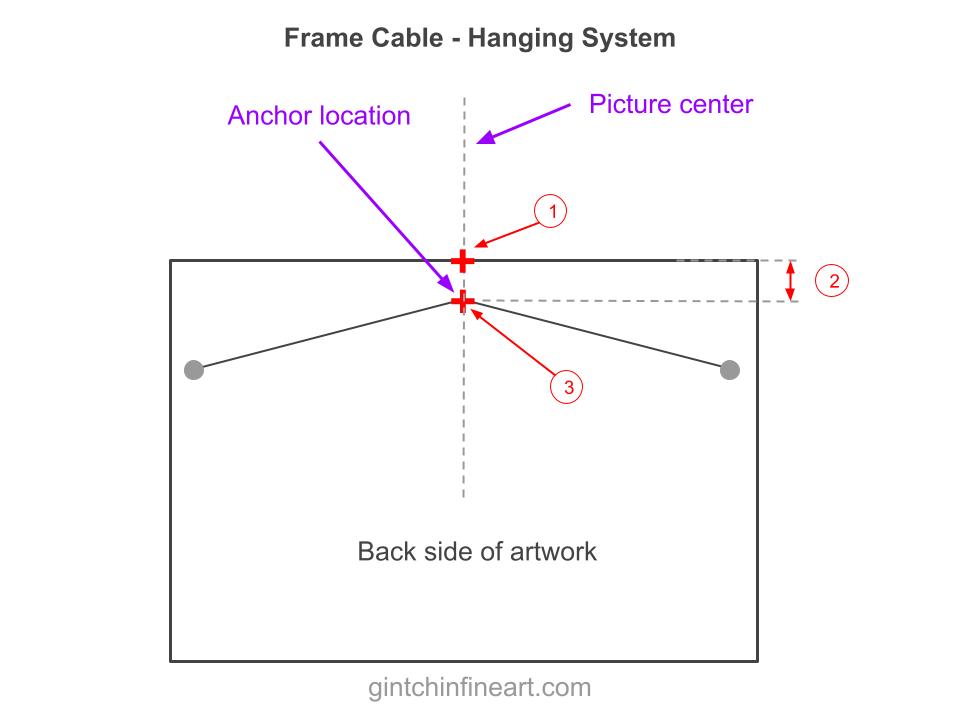
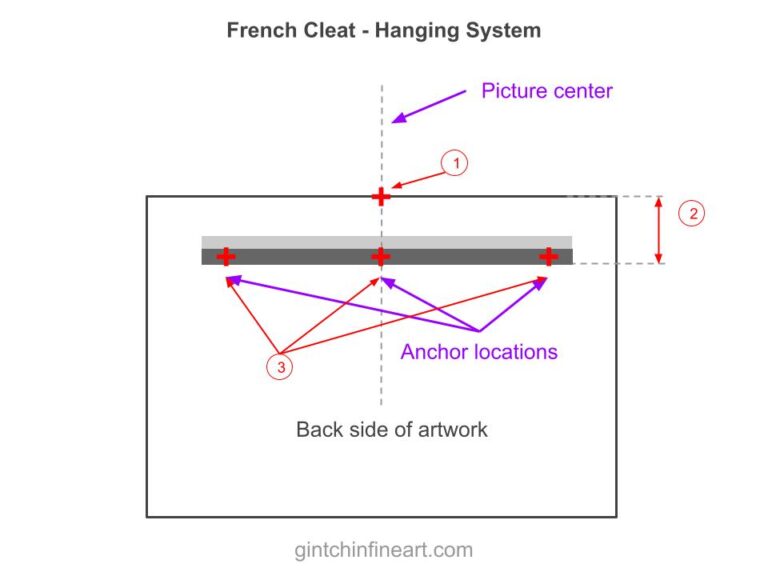
Choosing a Wall Art Hanging System
HOW TO SELECT THE BEST WALL ART HANGING SYSTEM Knowing how to choose the best hanging system is important when you hang a photo print,
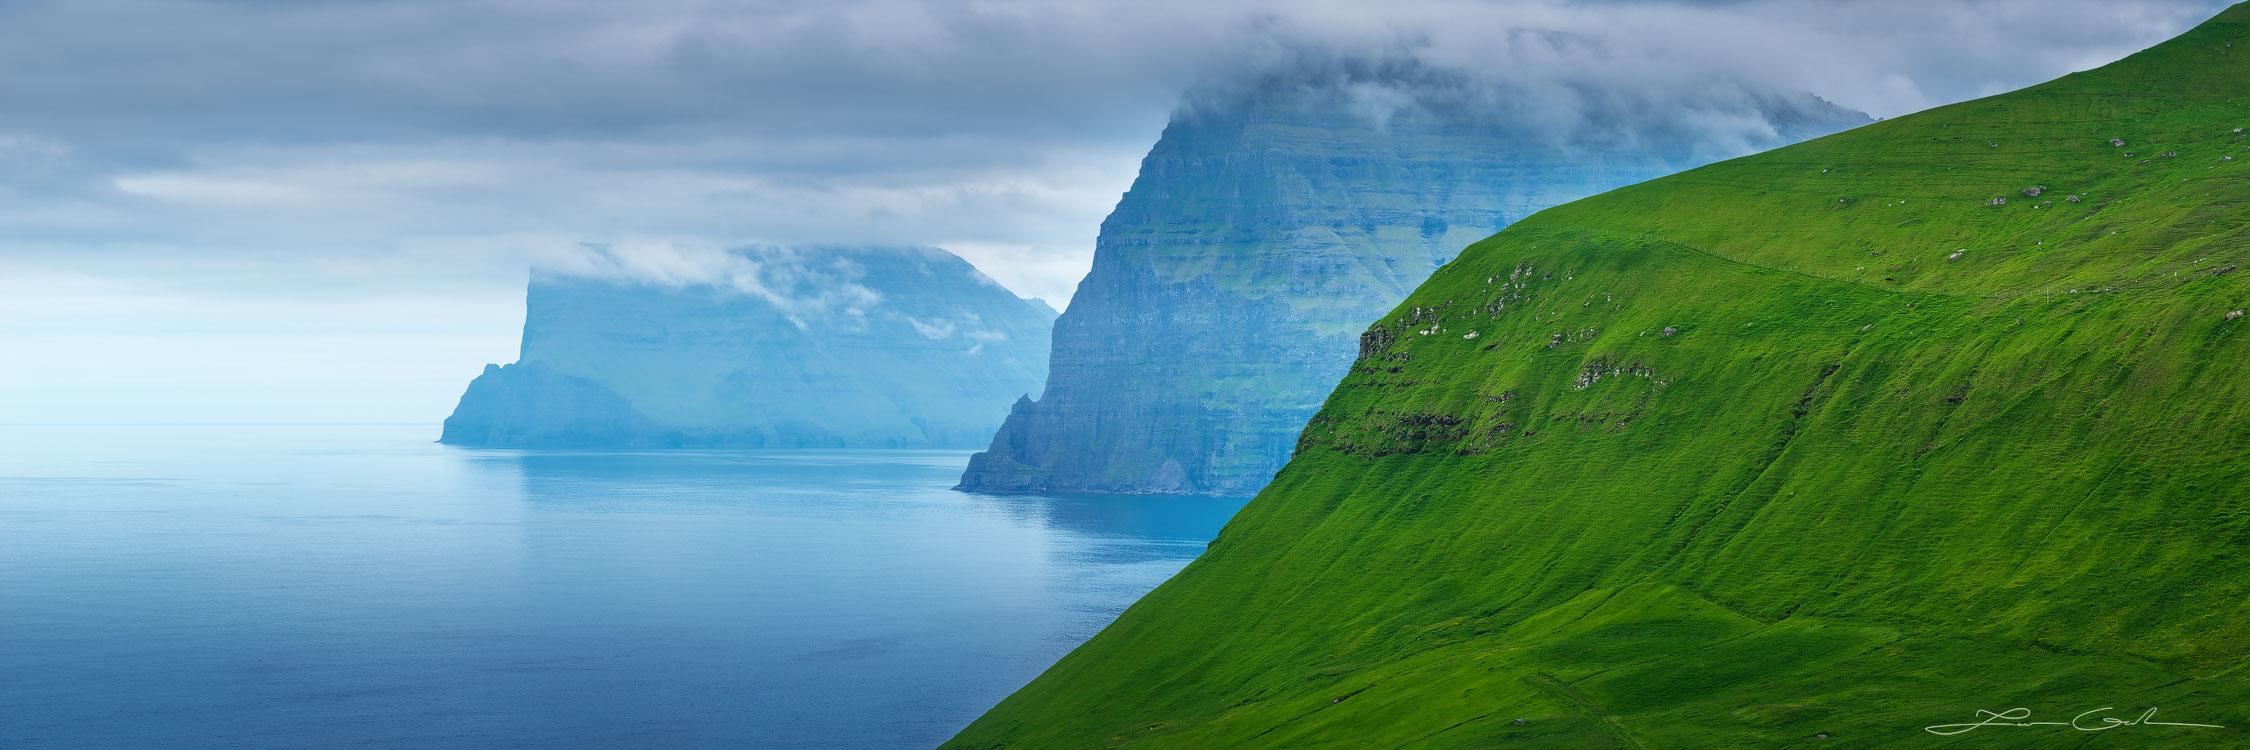
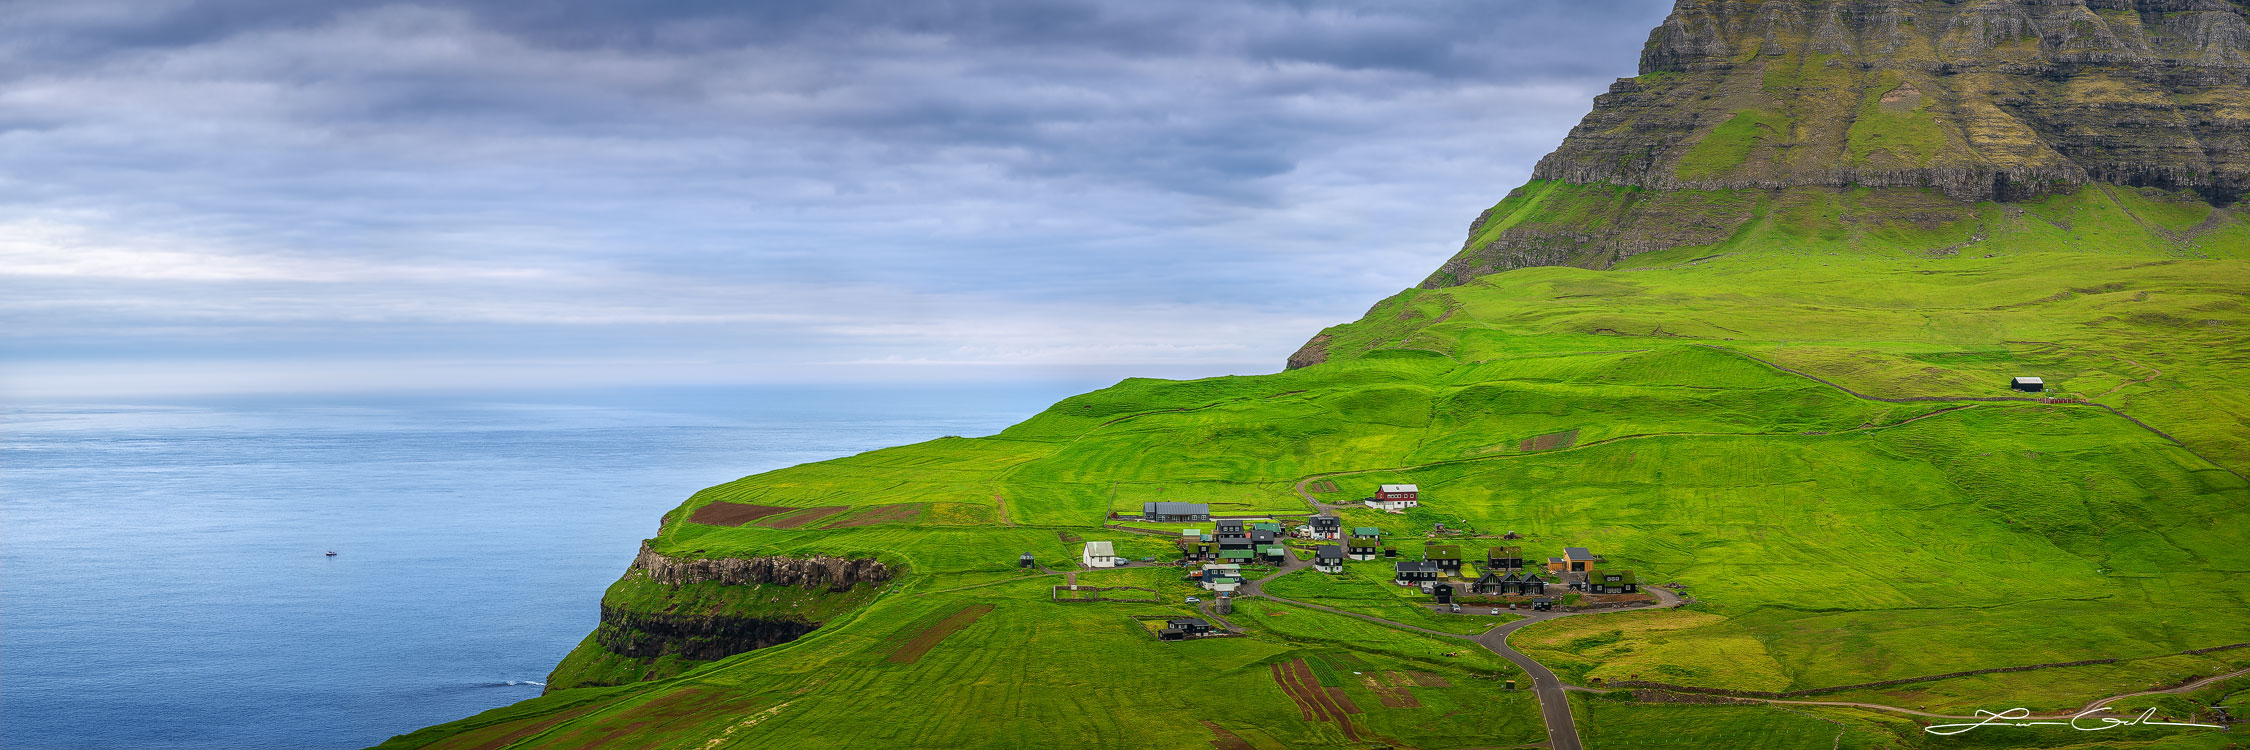
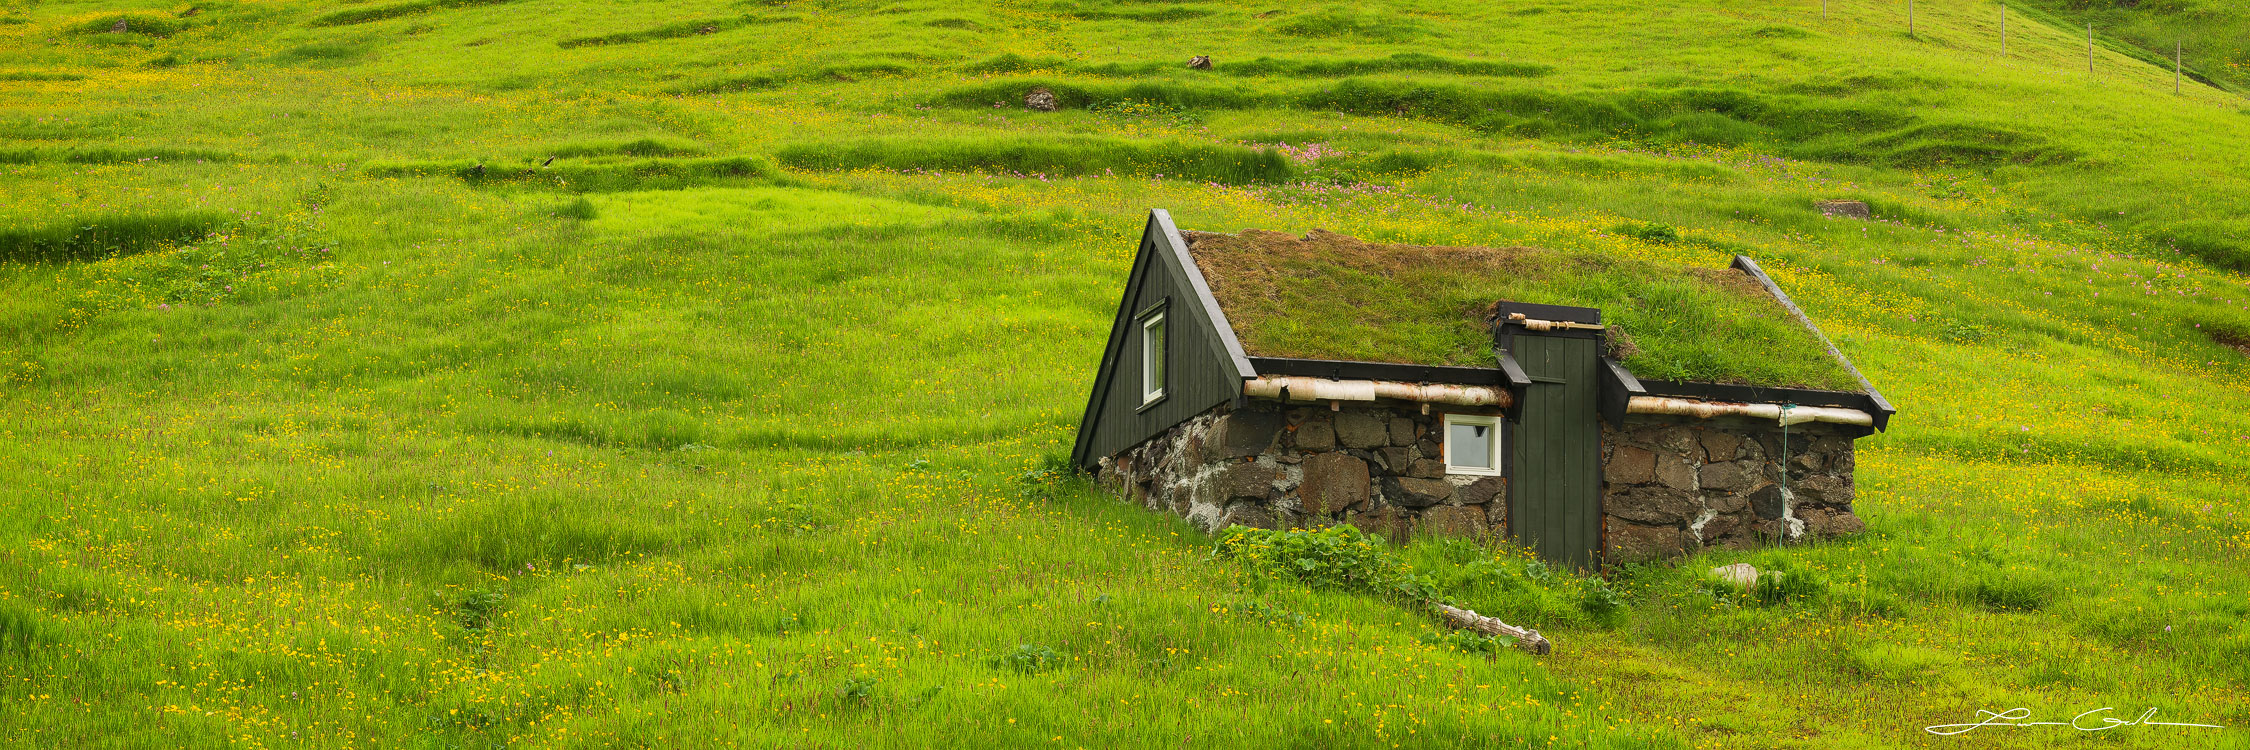
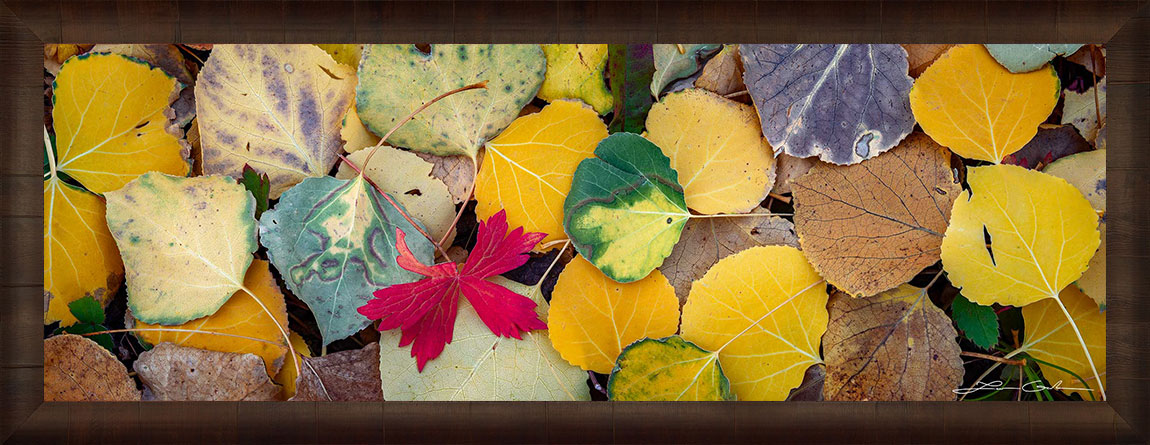
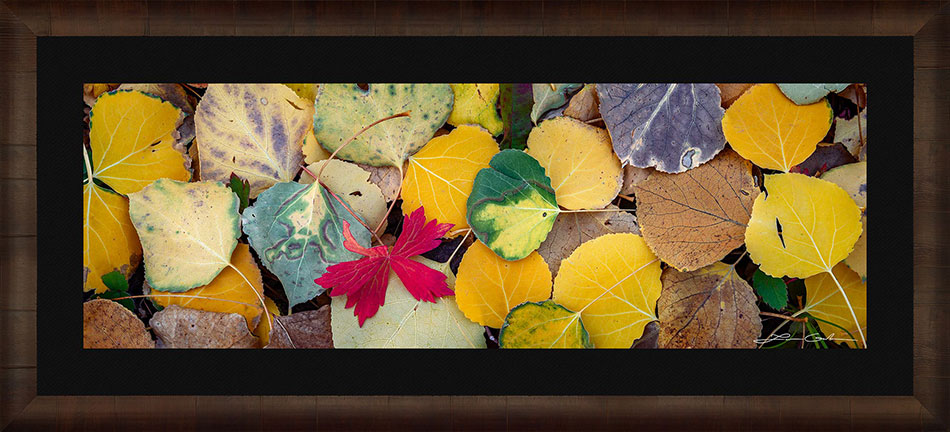
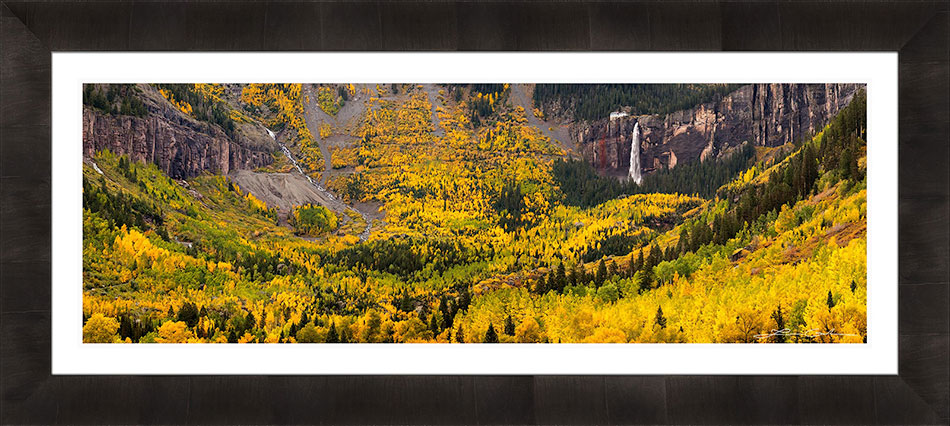
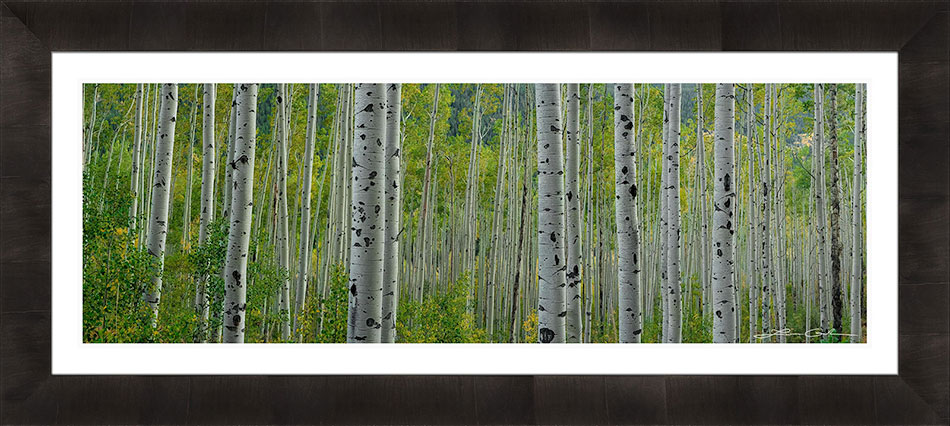
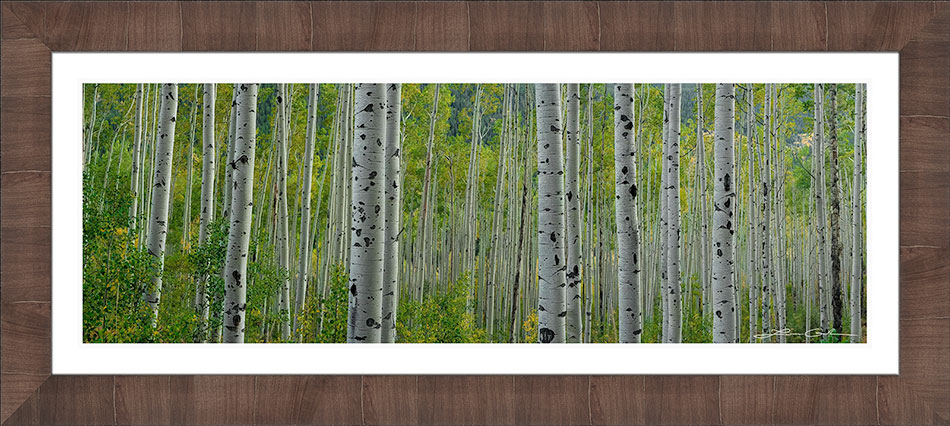
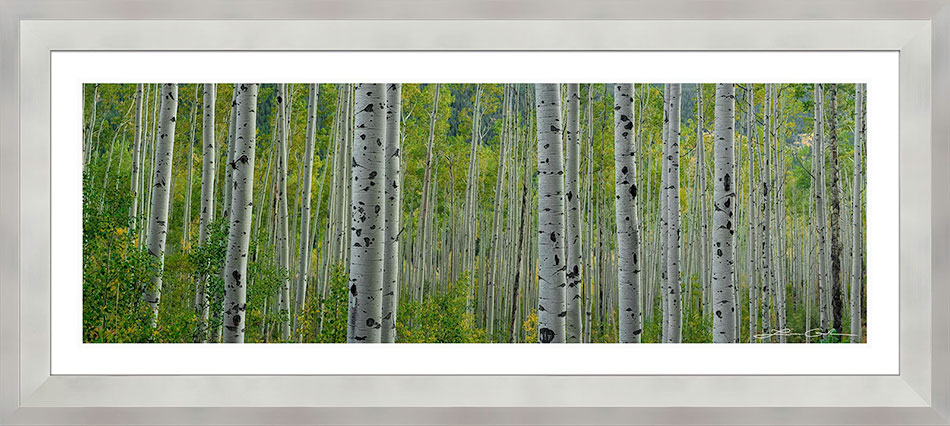
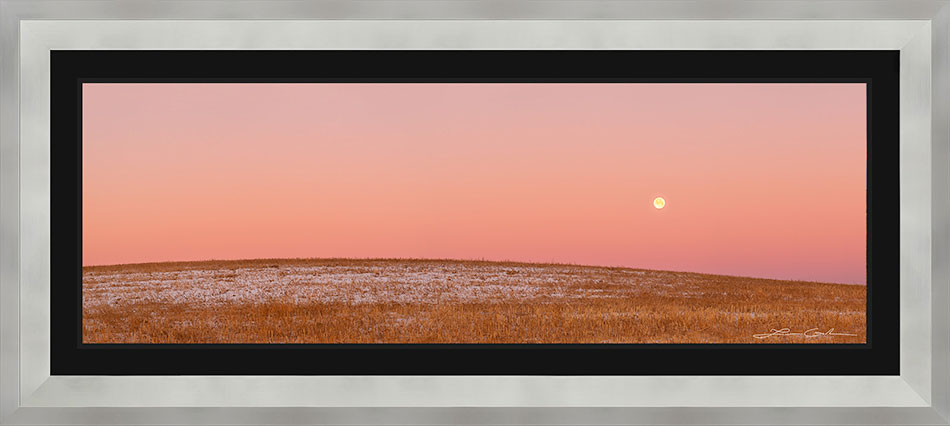
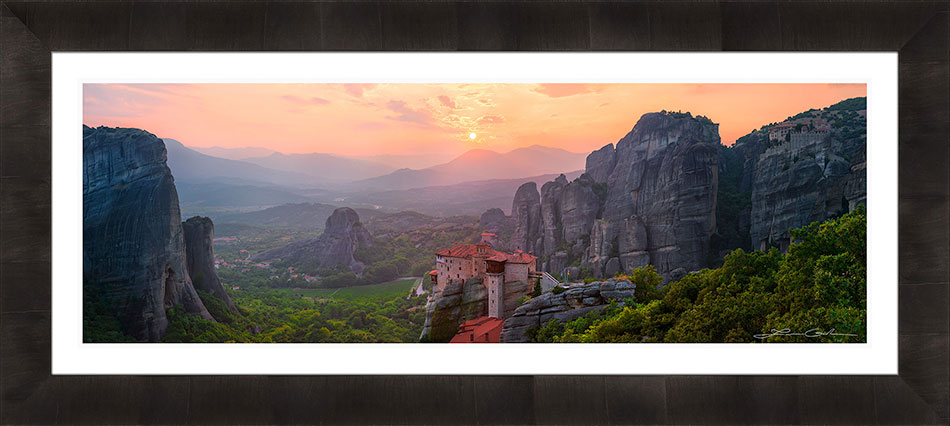
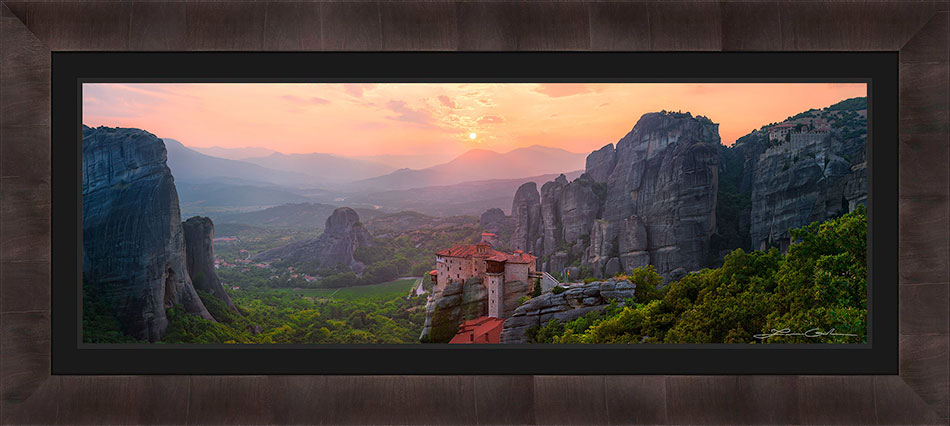
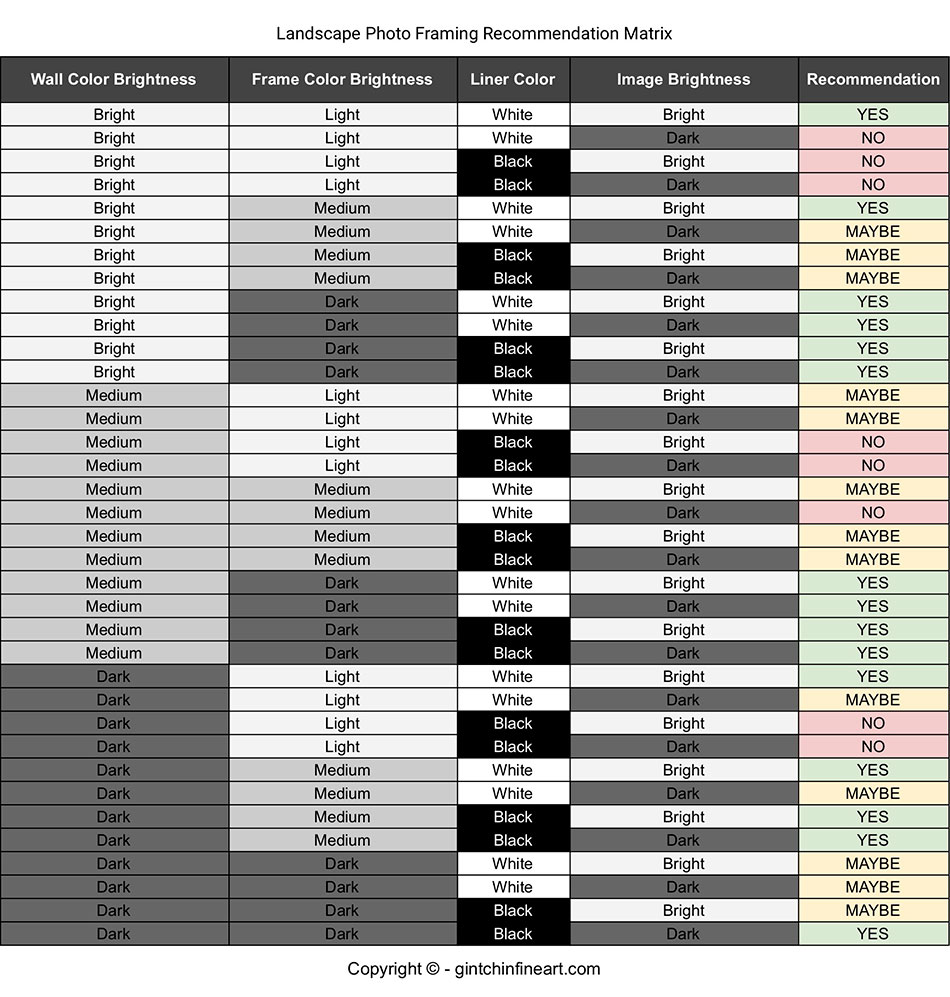
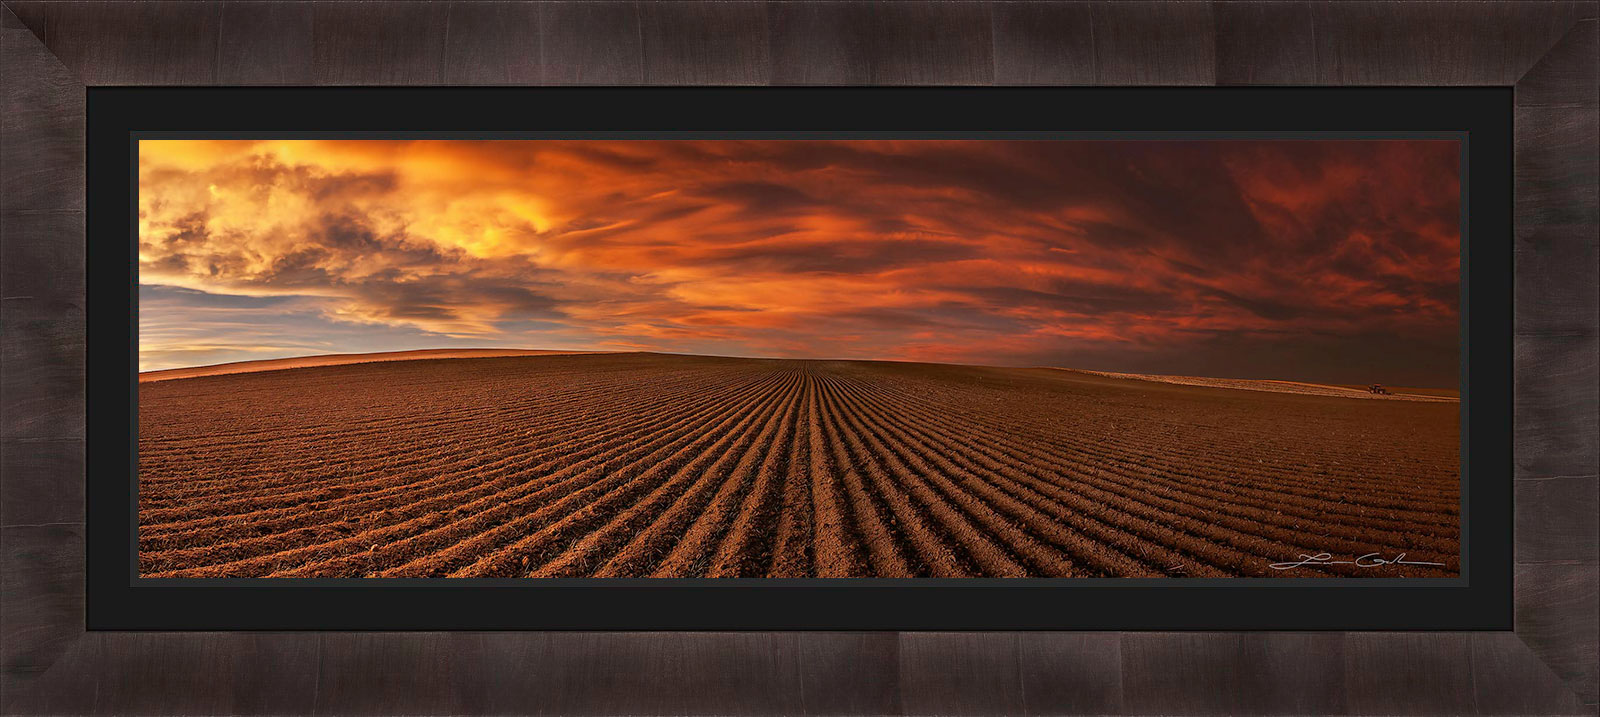
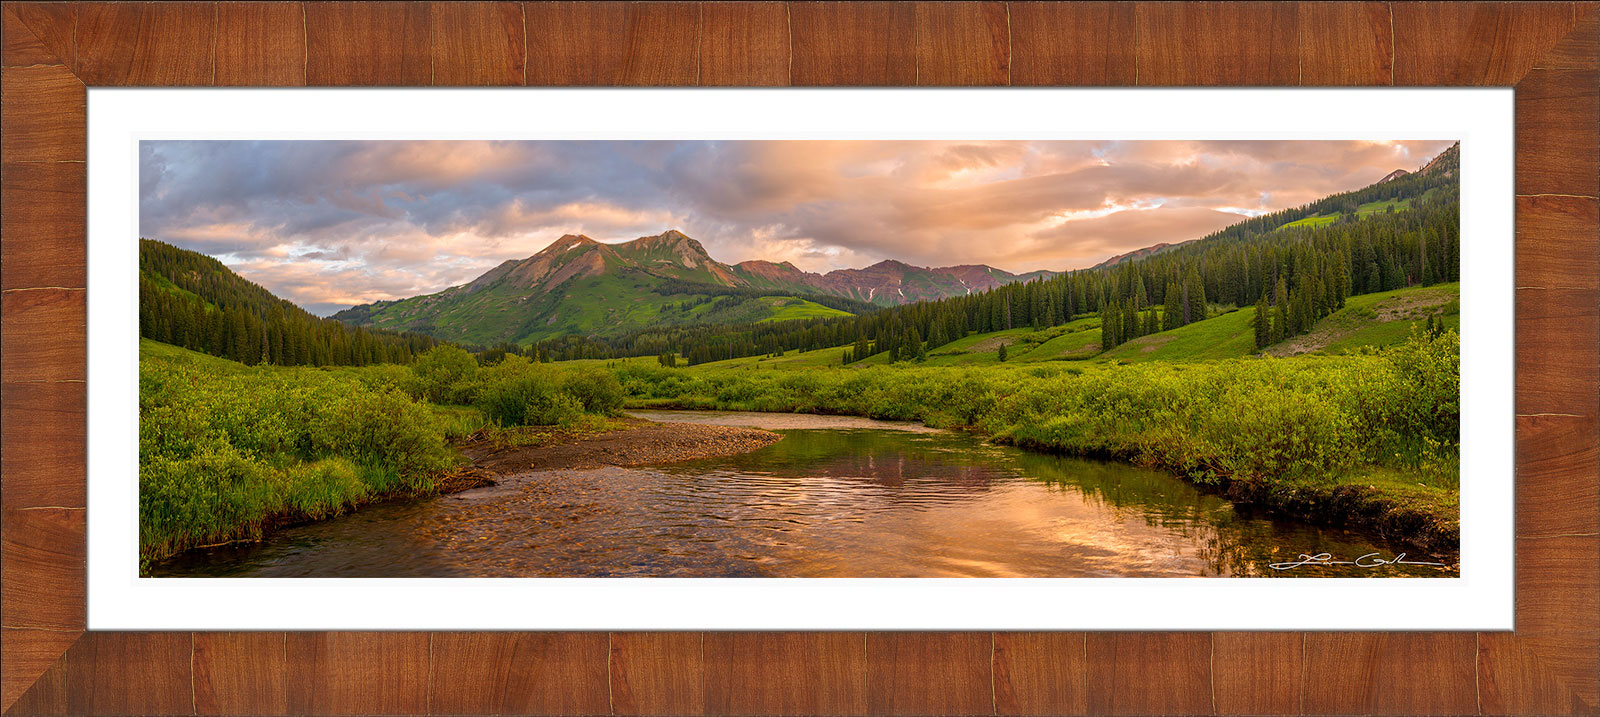
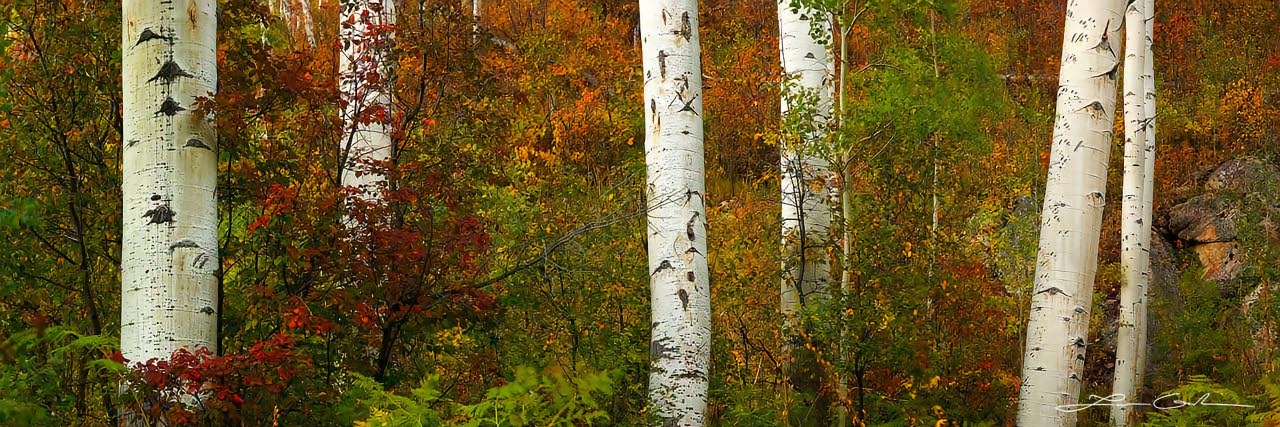
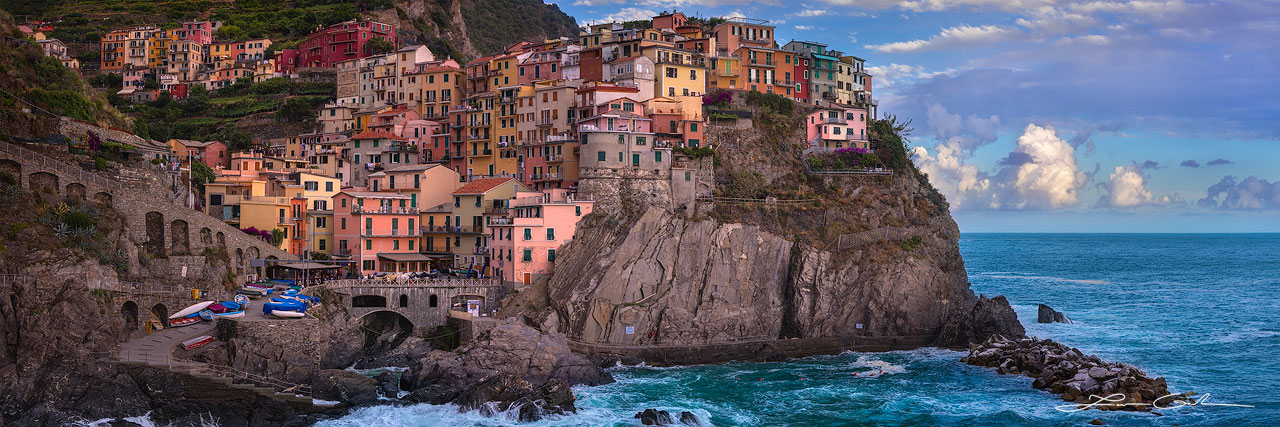
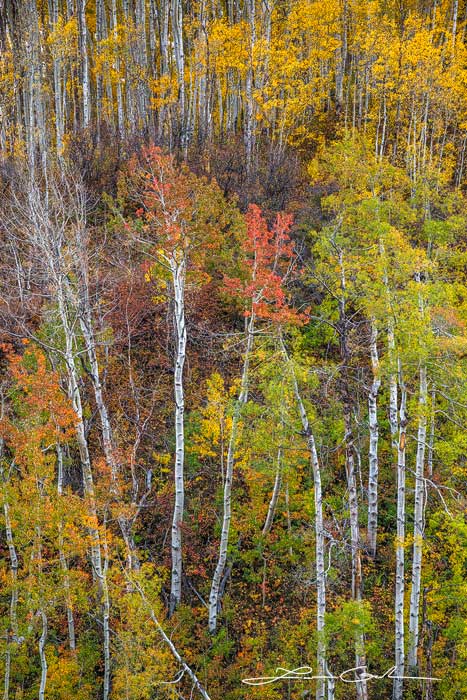
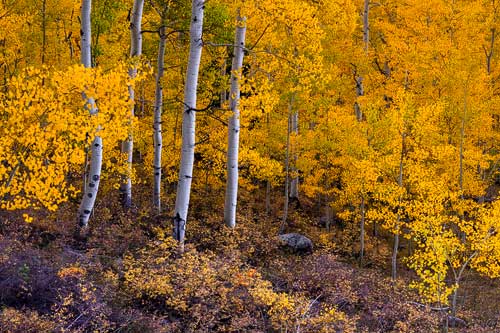
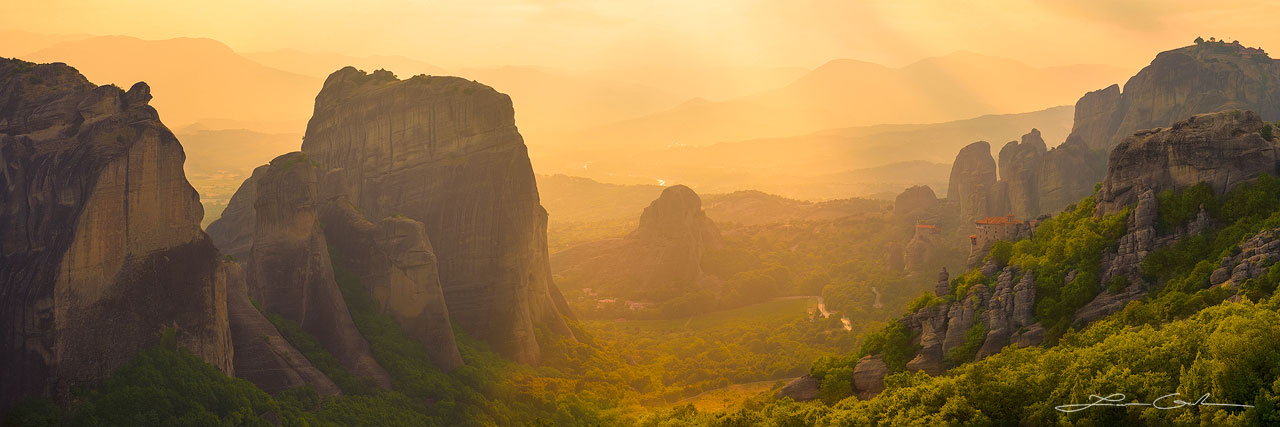
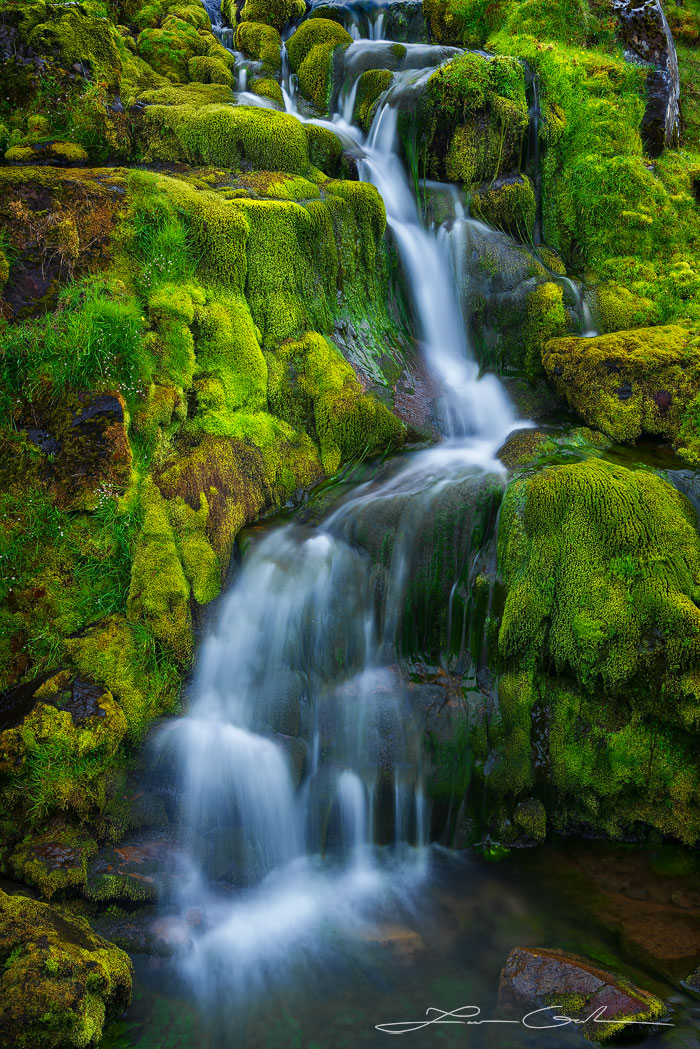
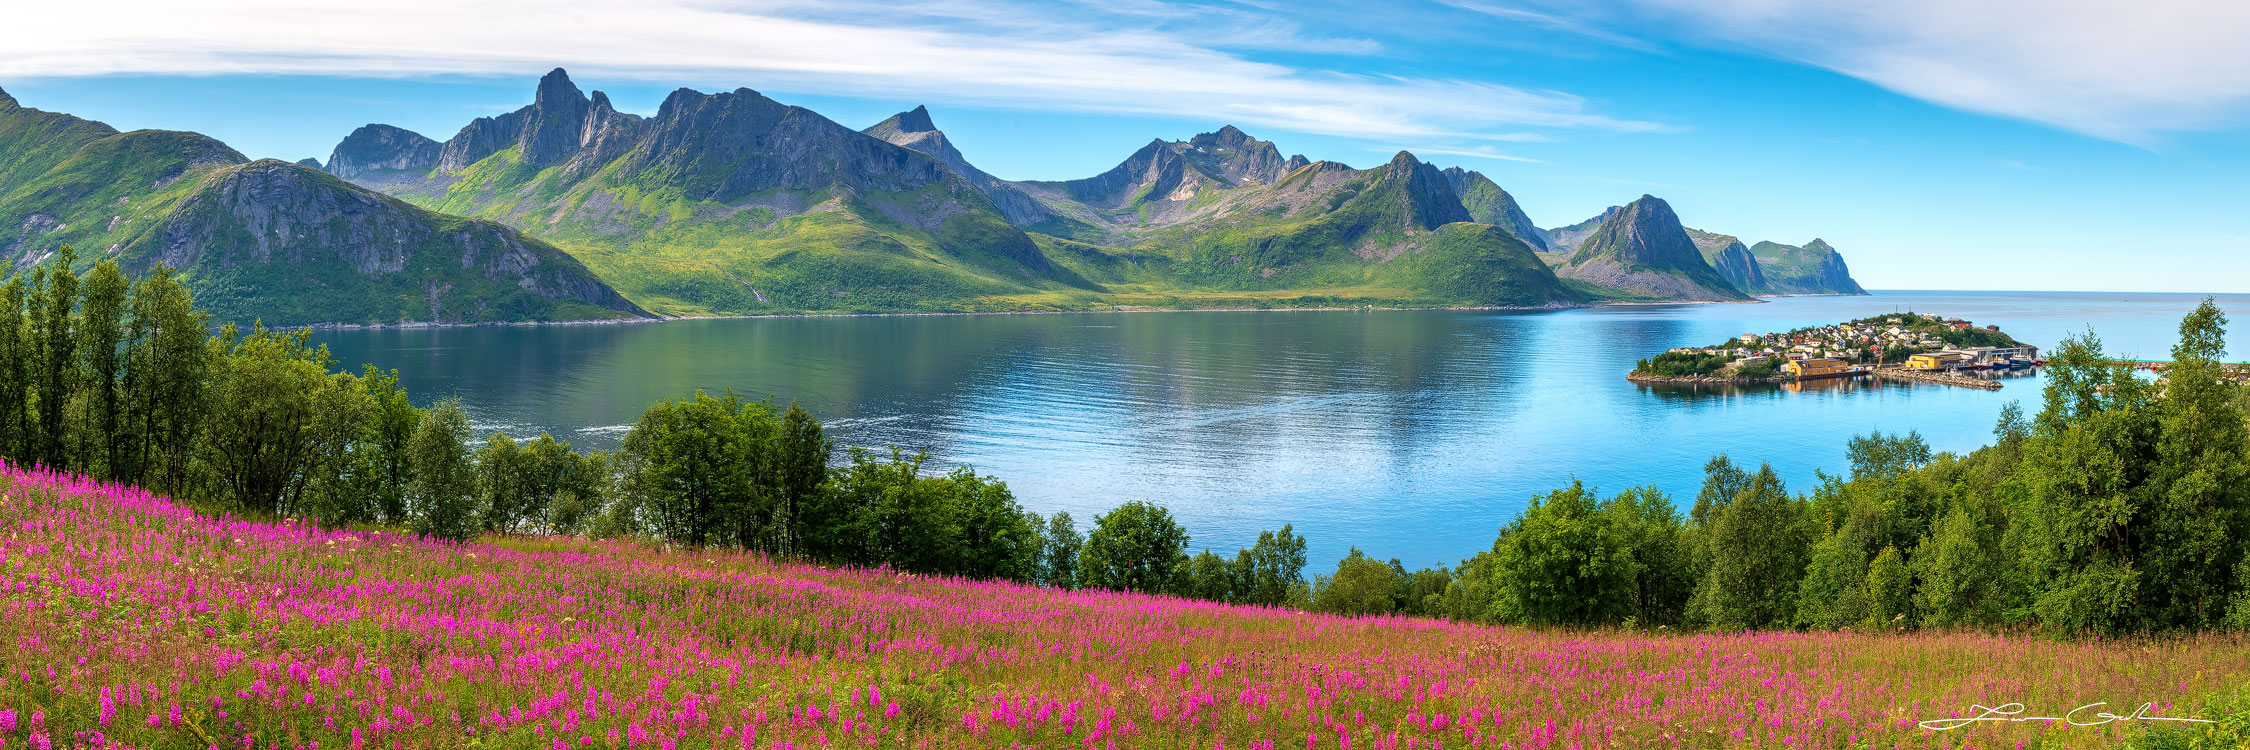
Choosing a Frame for a Landscape Print: How To – Practical Guide
How do you choose the right frame for a landscape print? Mounting a high quality frame around a landscape print can create an impressive piece
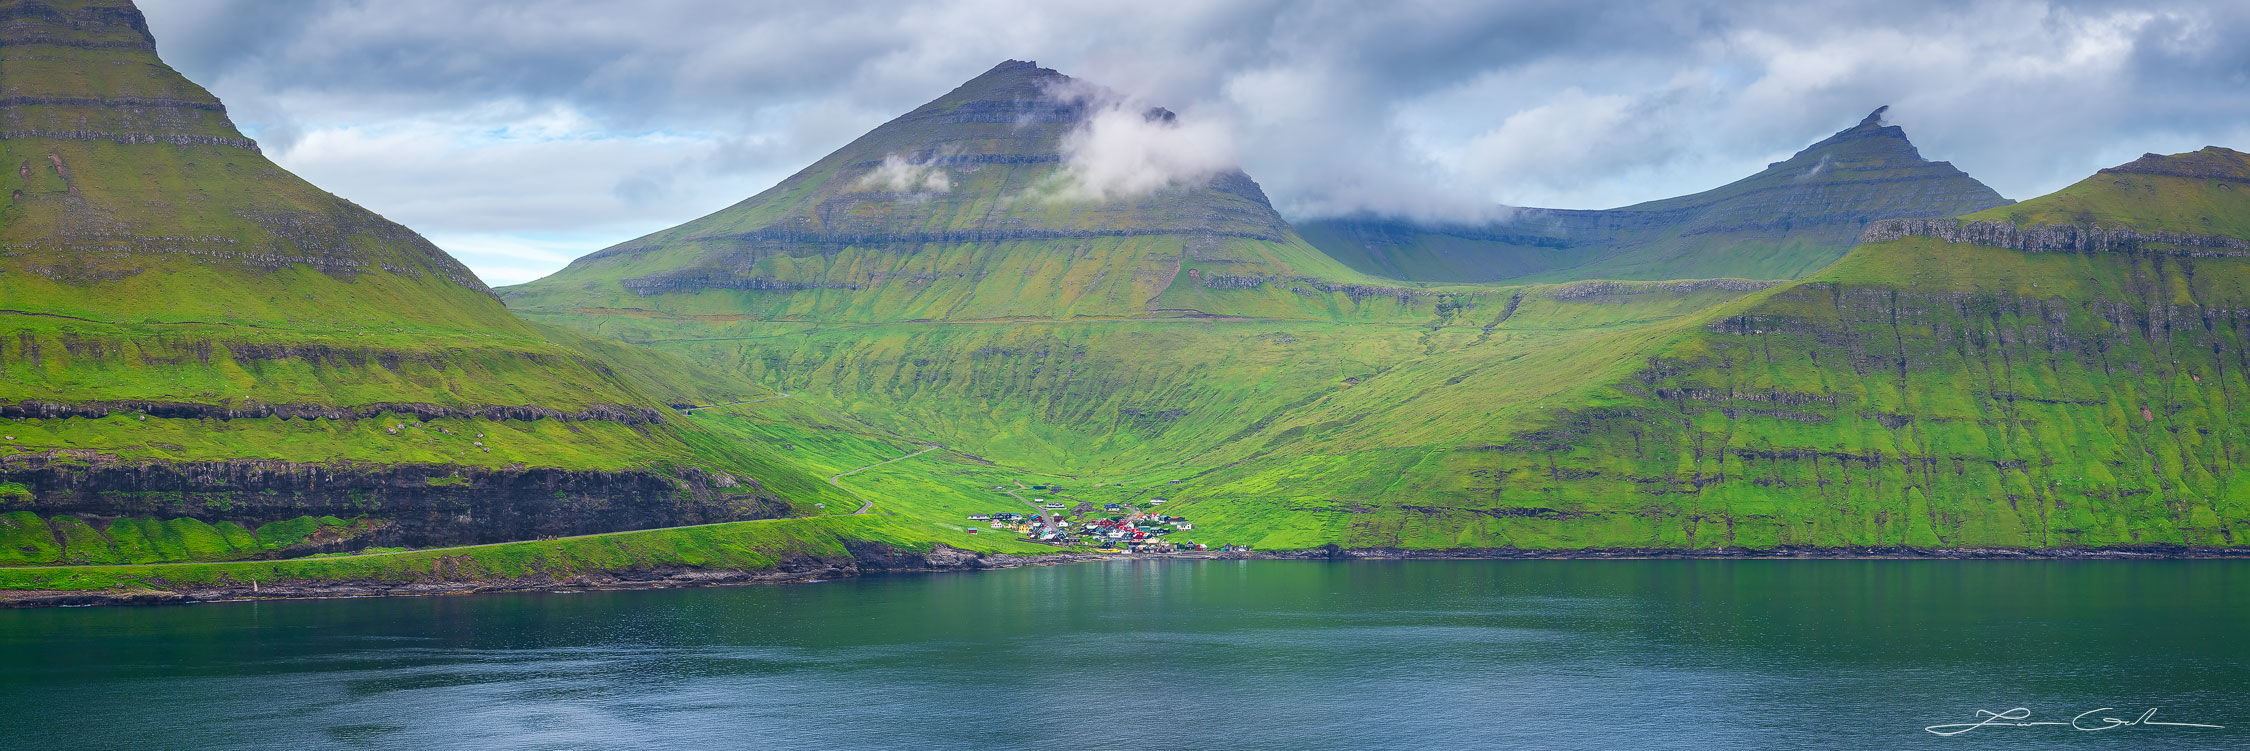
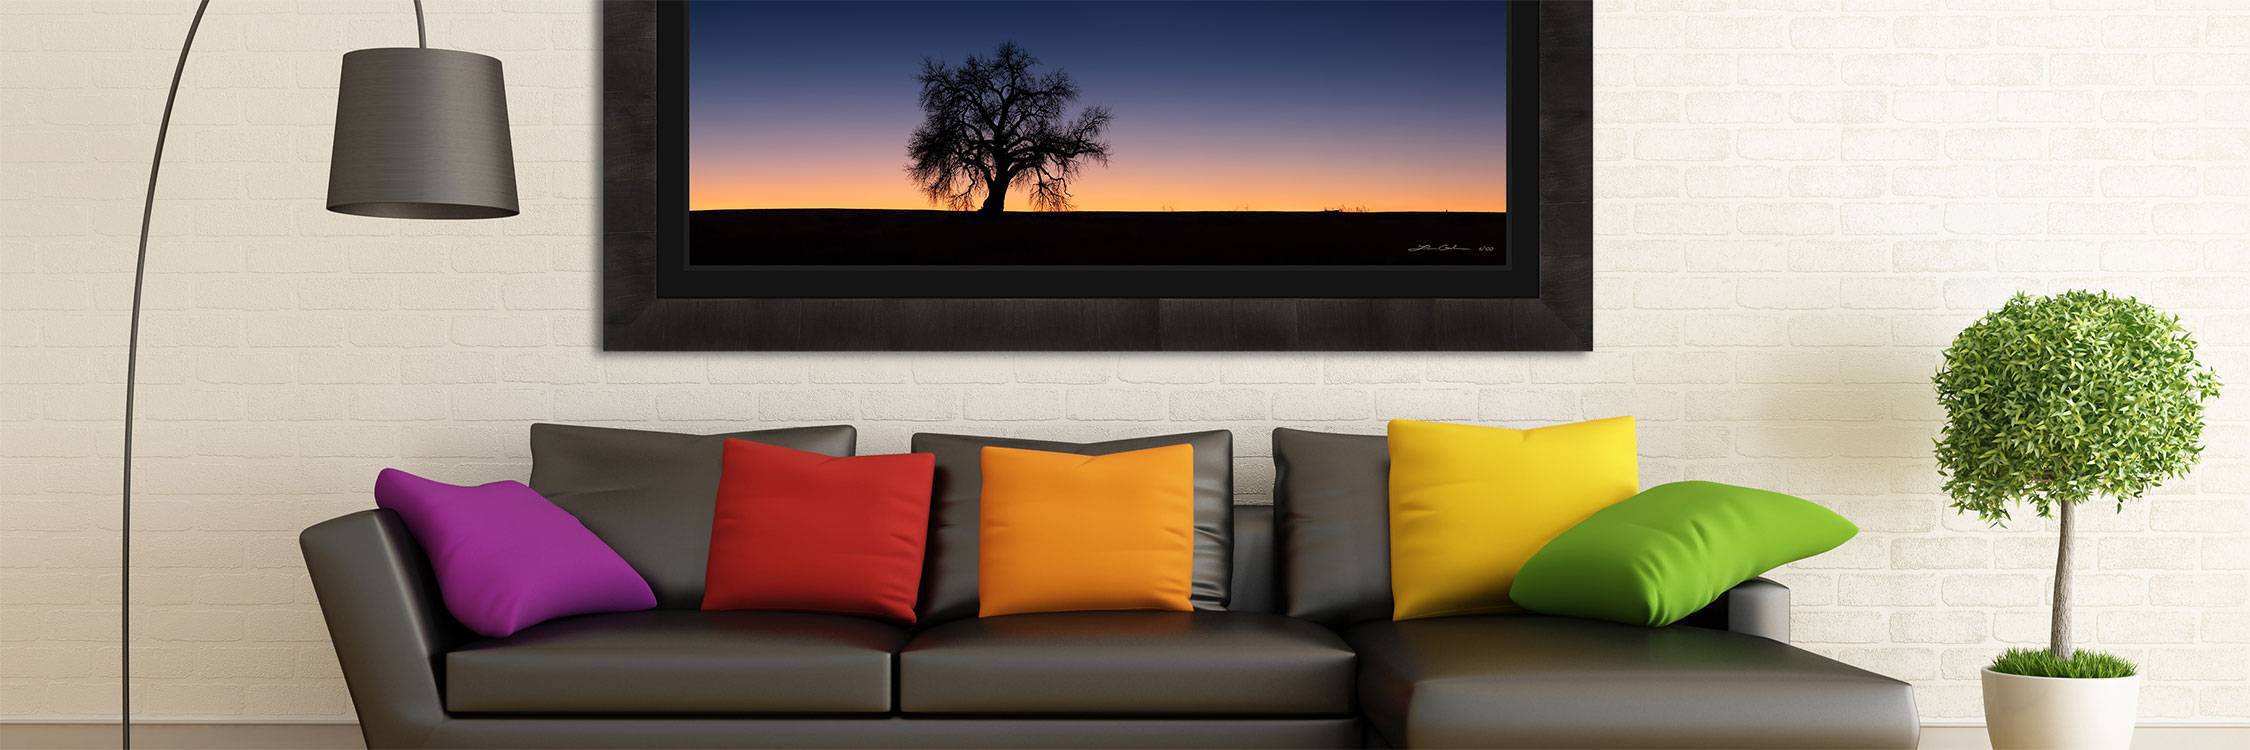
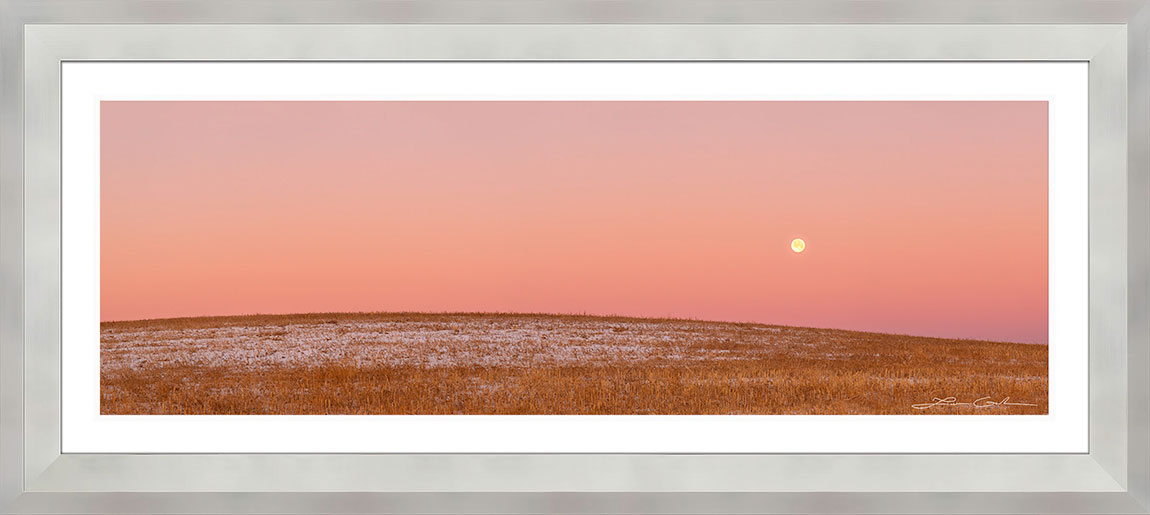
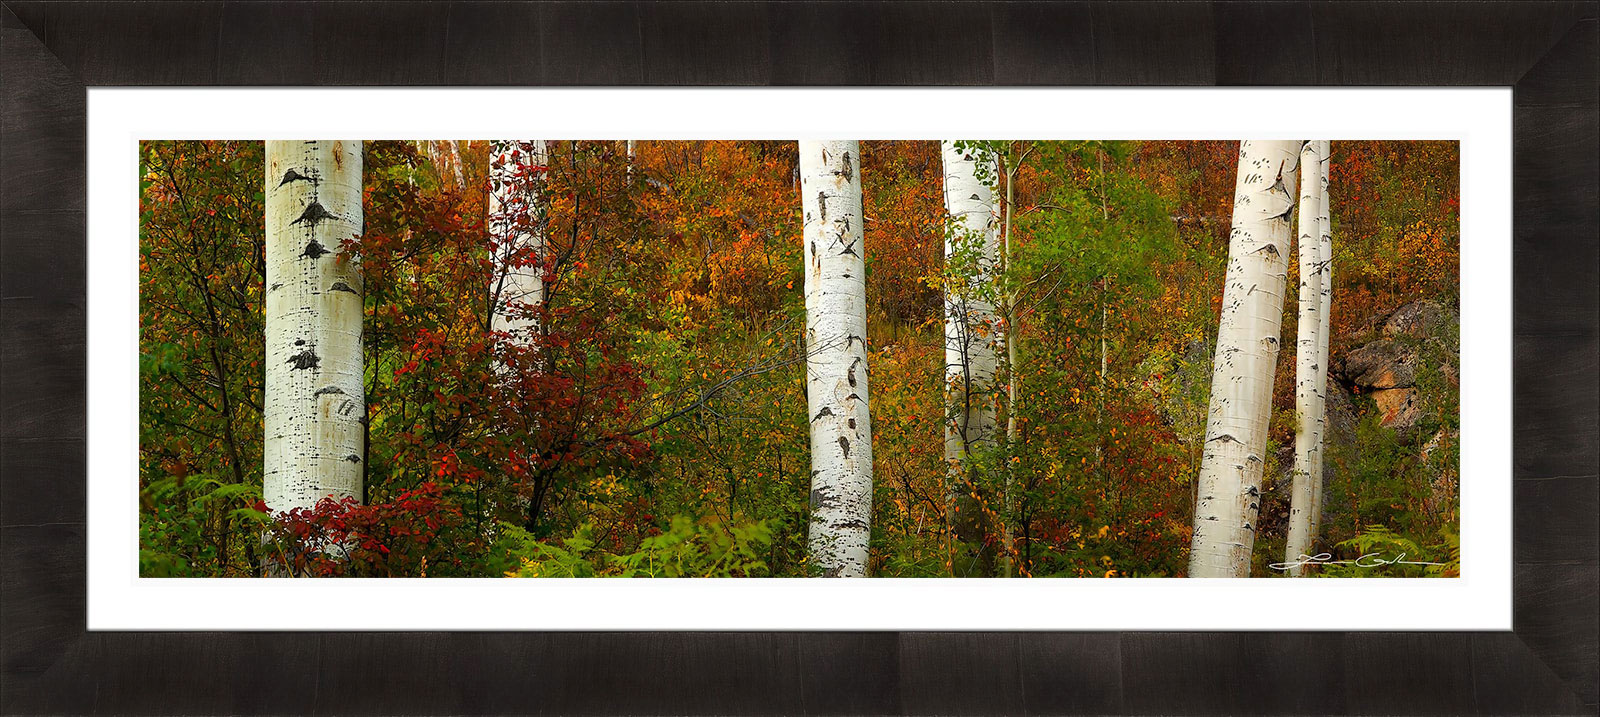
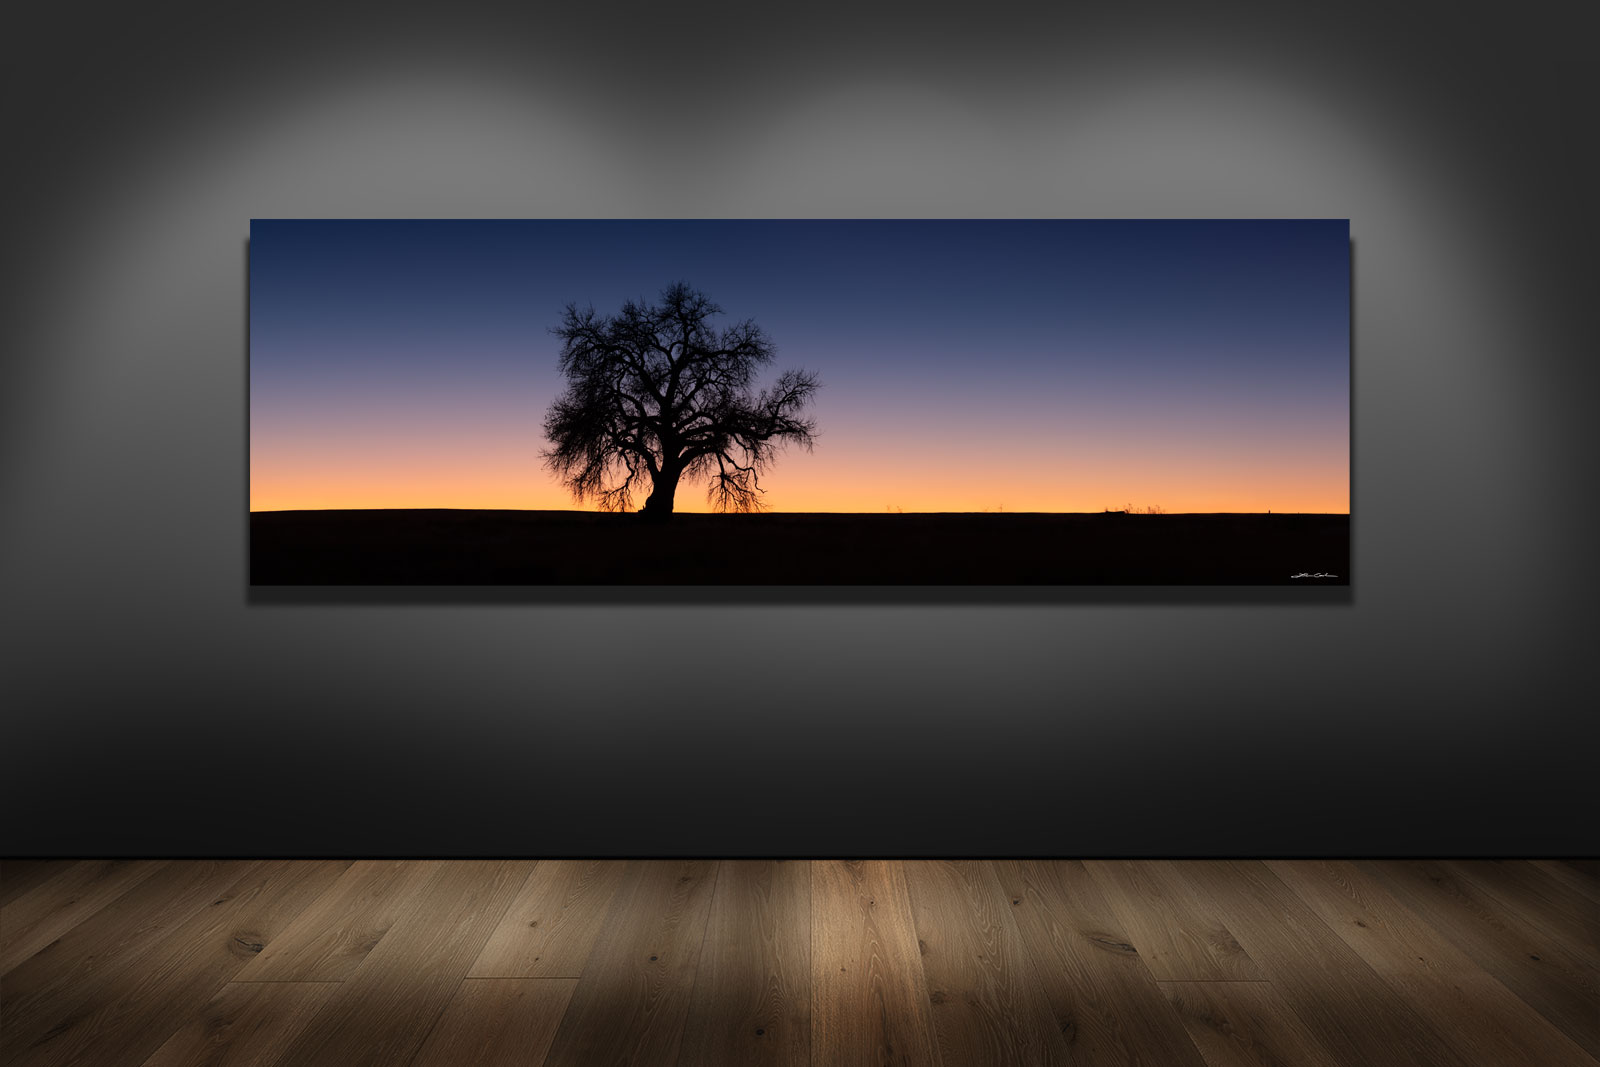
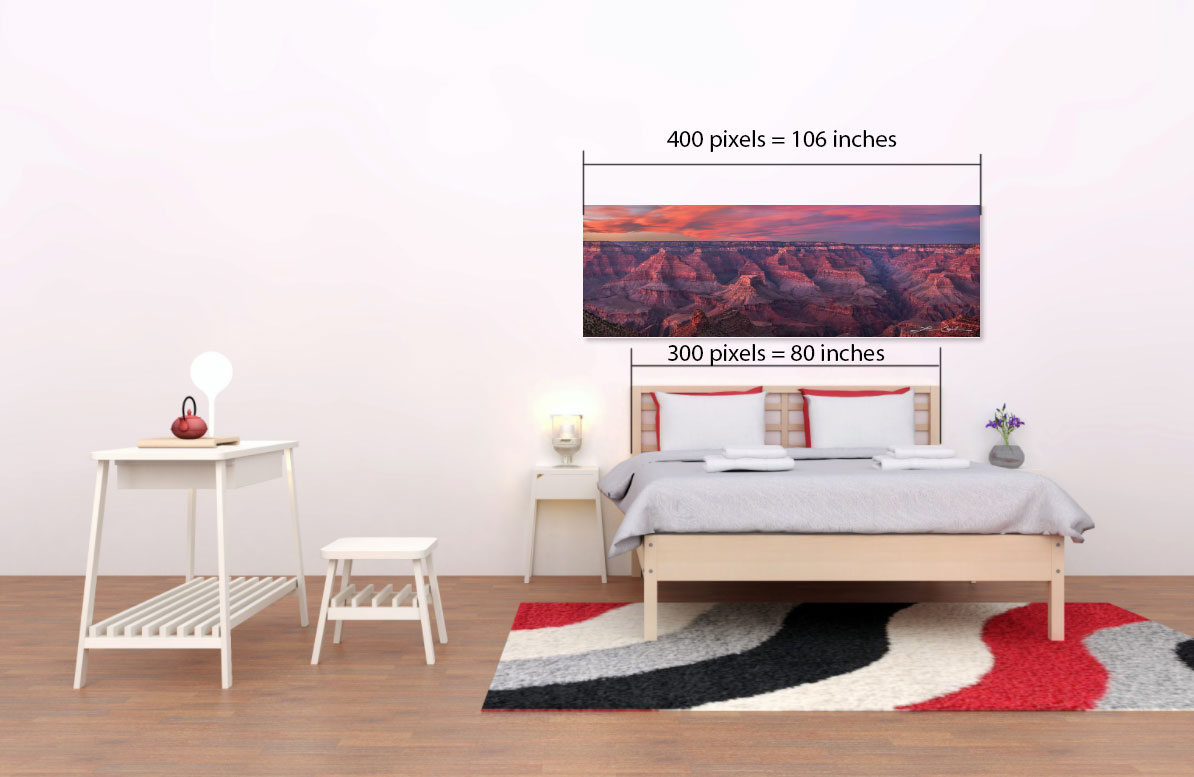
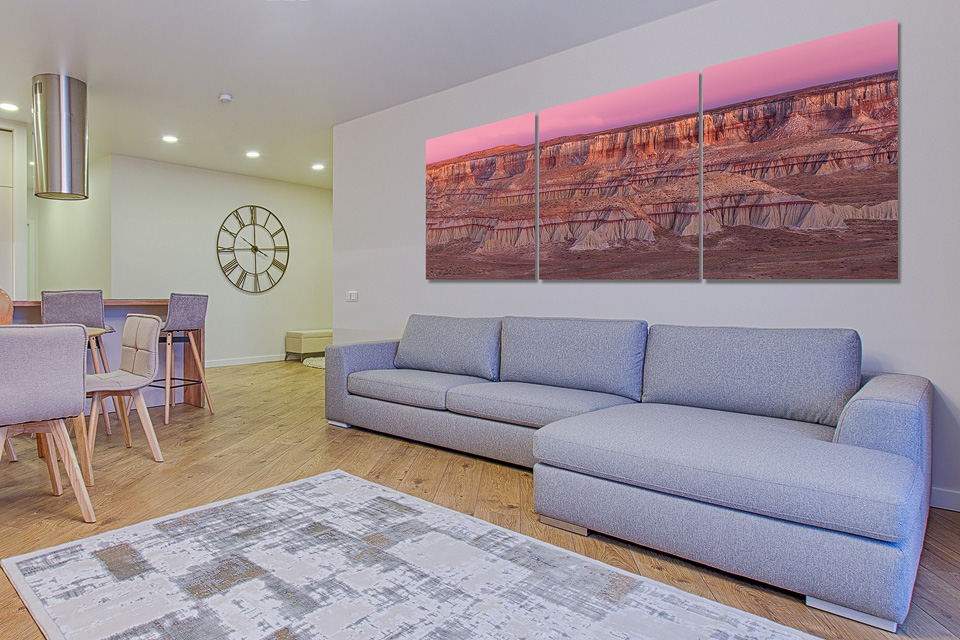
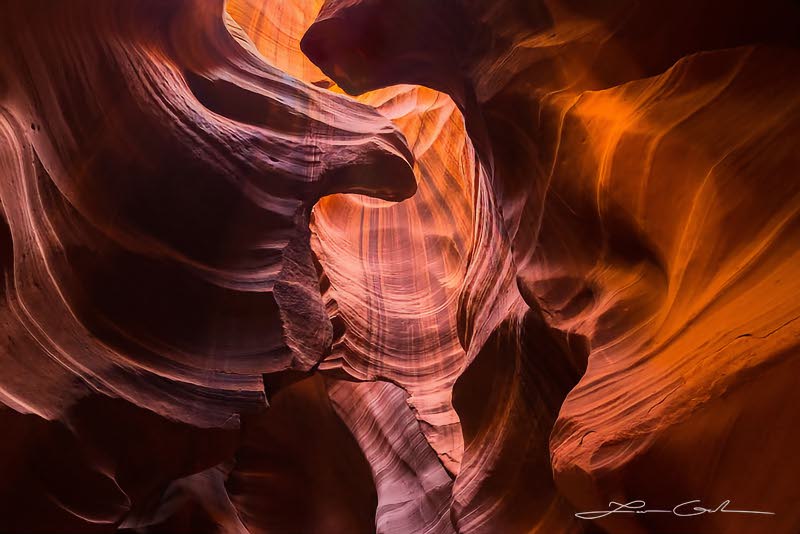
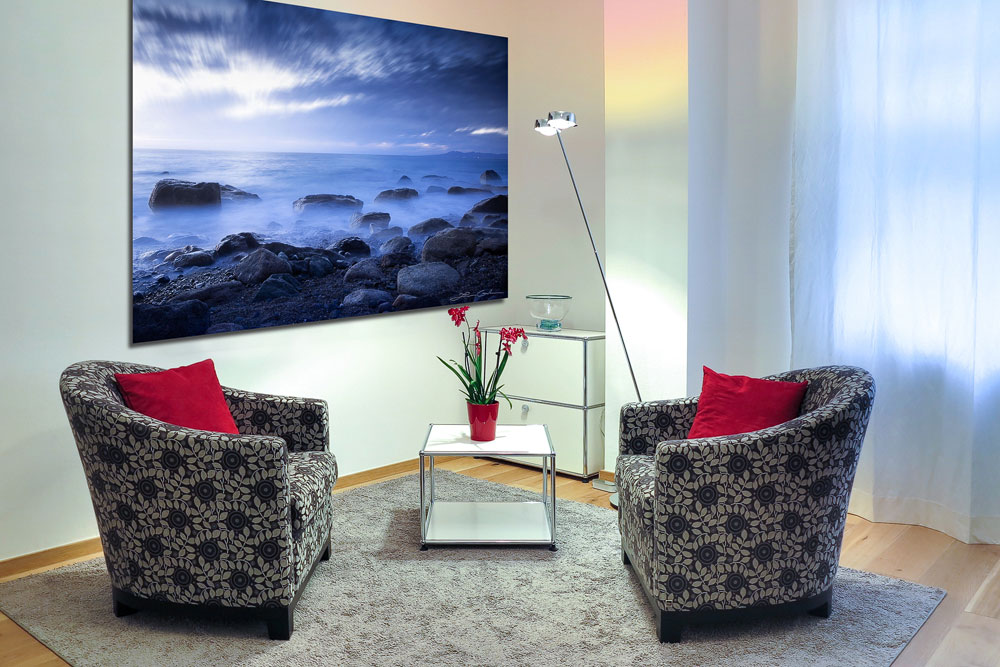
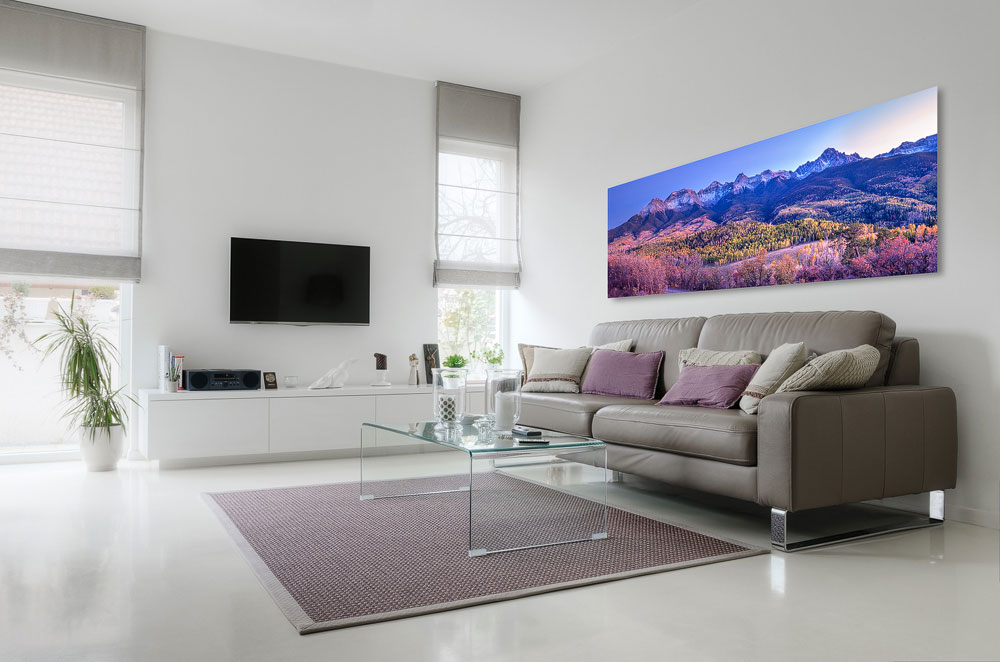
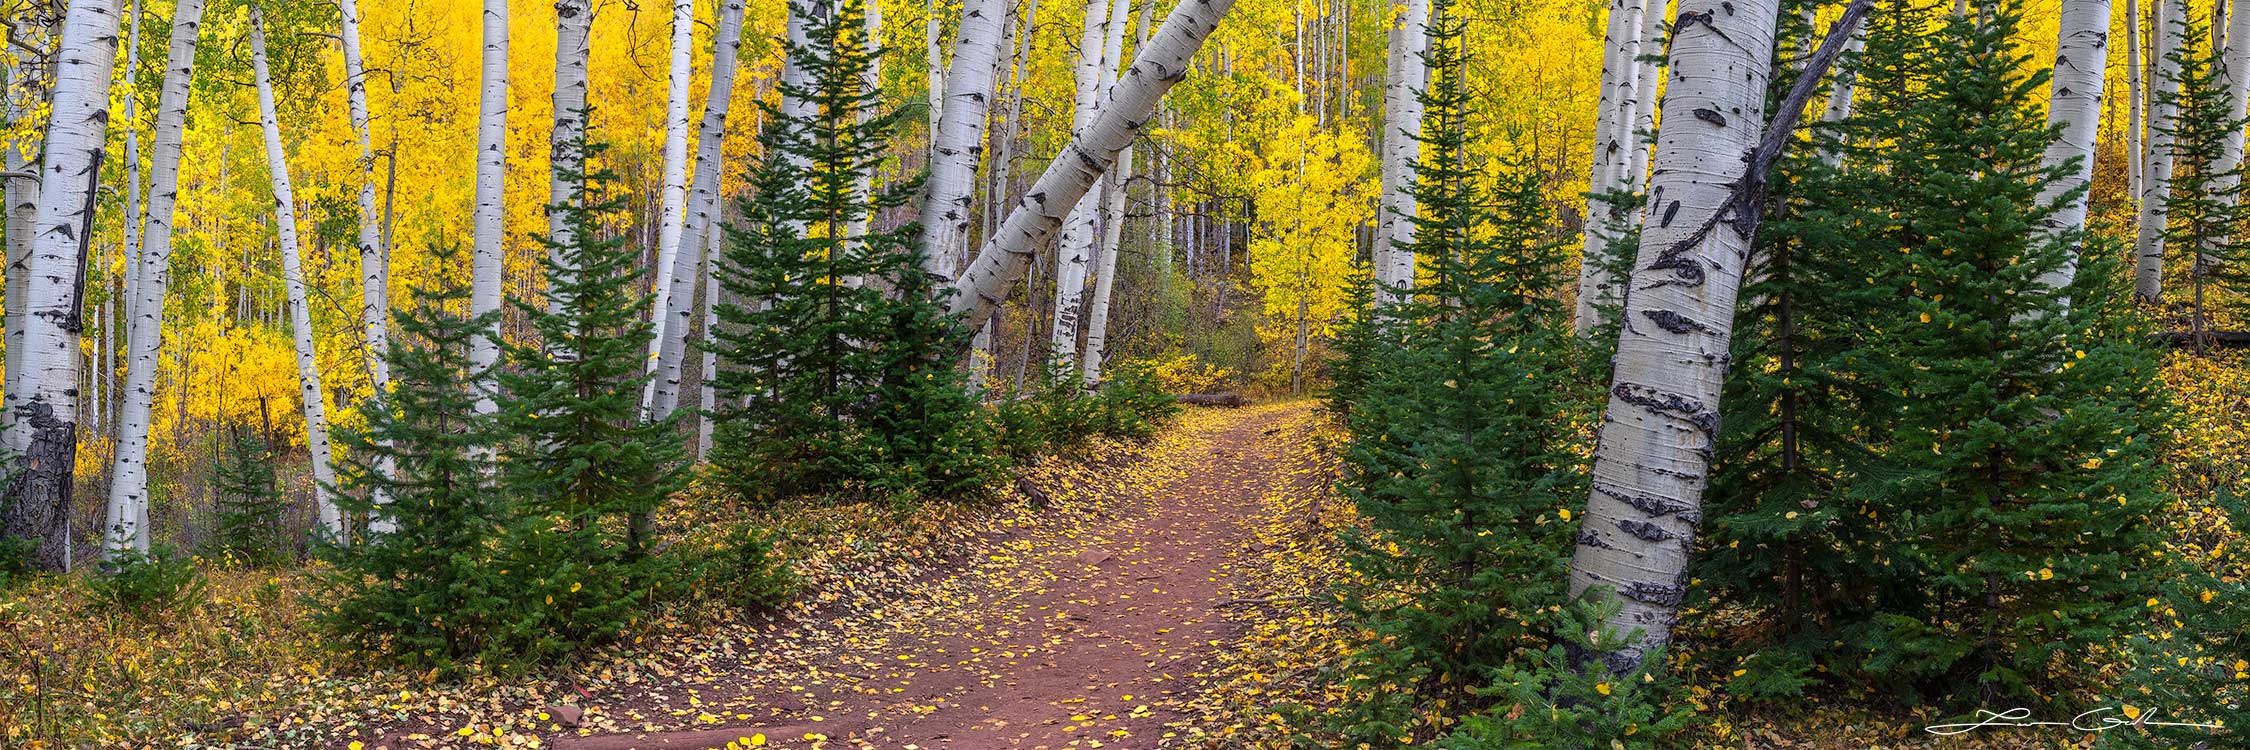
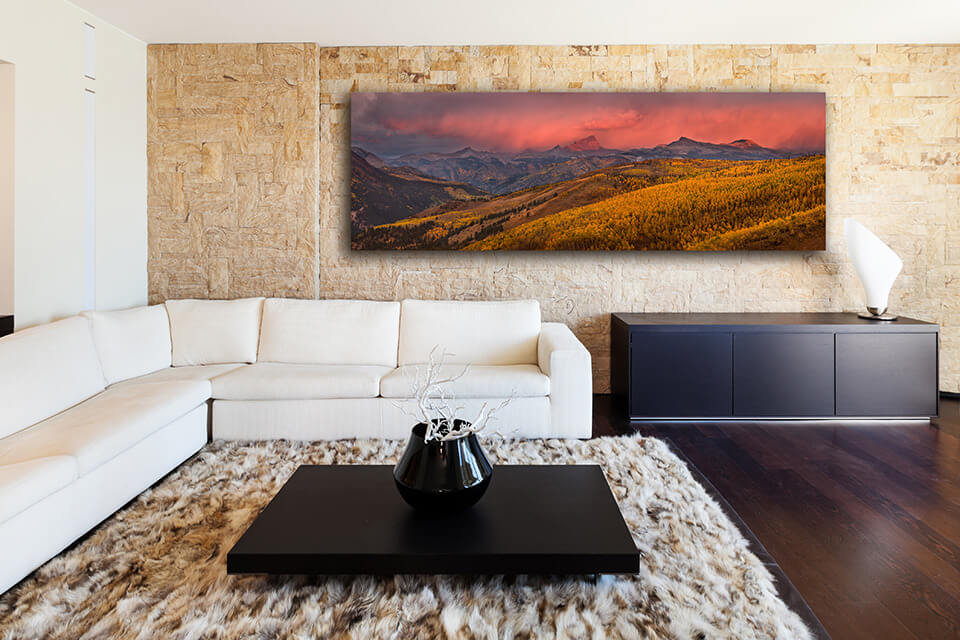
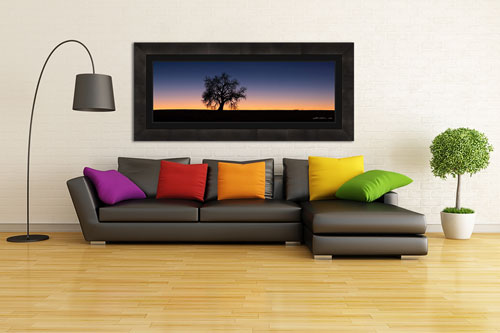
How to visualize fine art prints on your wall?
The ability to visualize art prints on your wall before buying is a skill that can save you headaches. Whether you are an art curator,
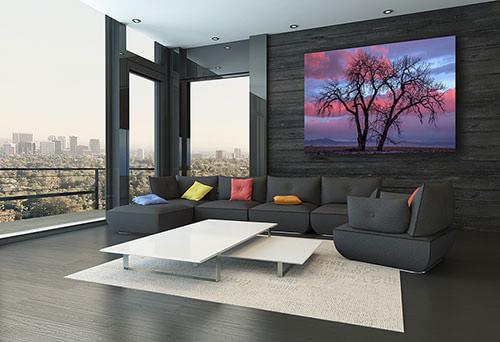
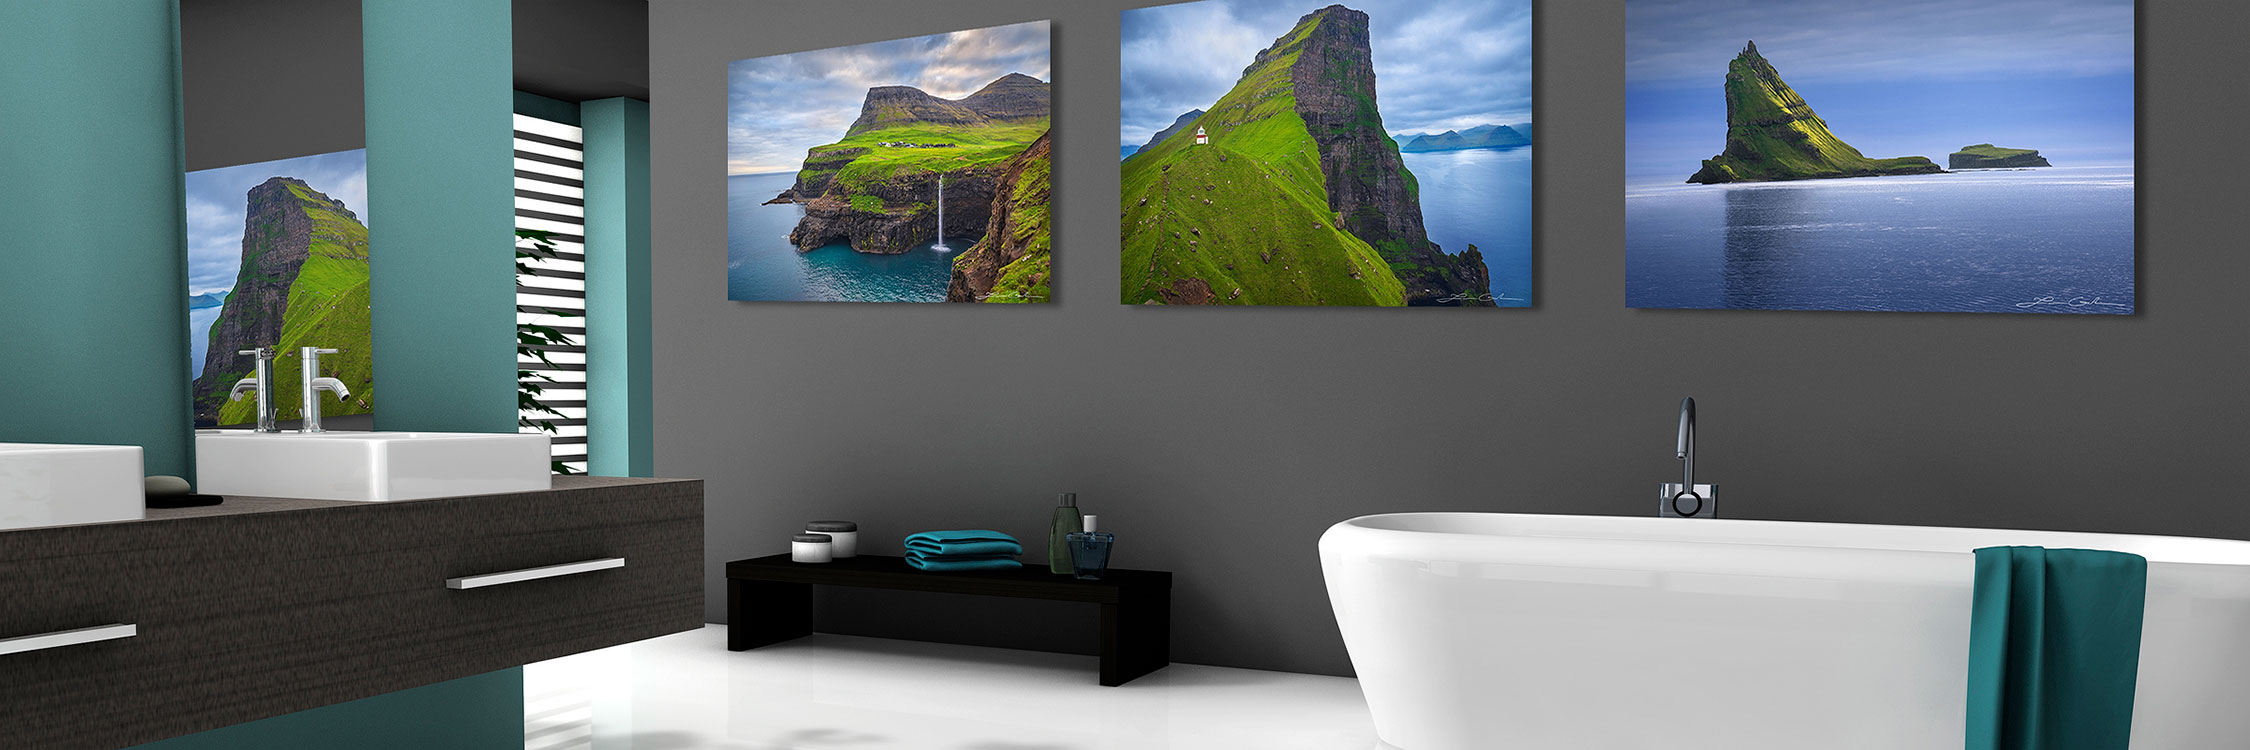
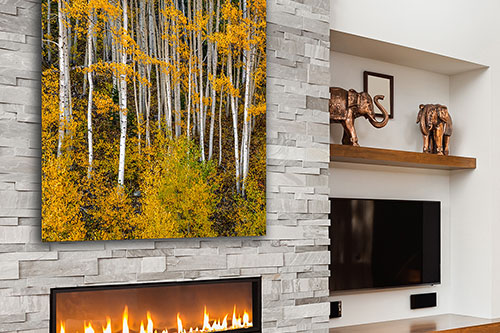
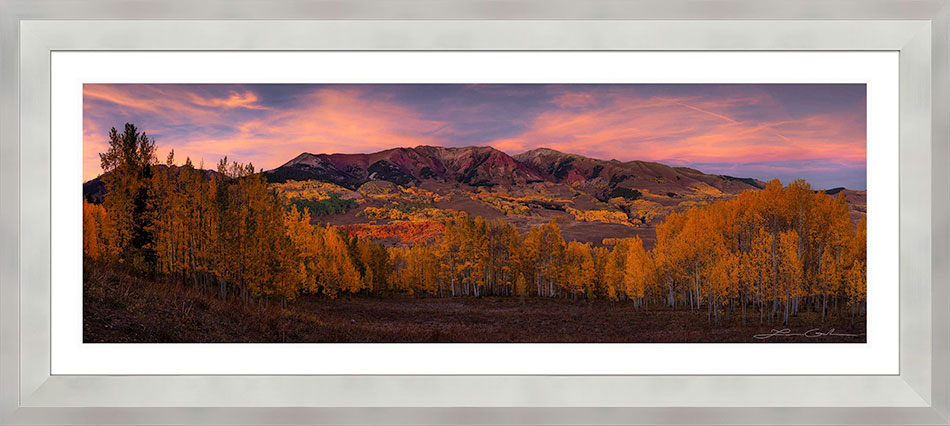
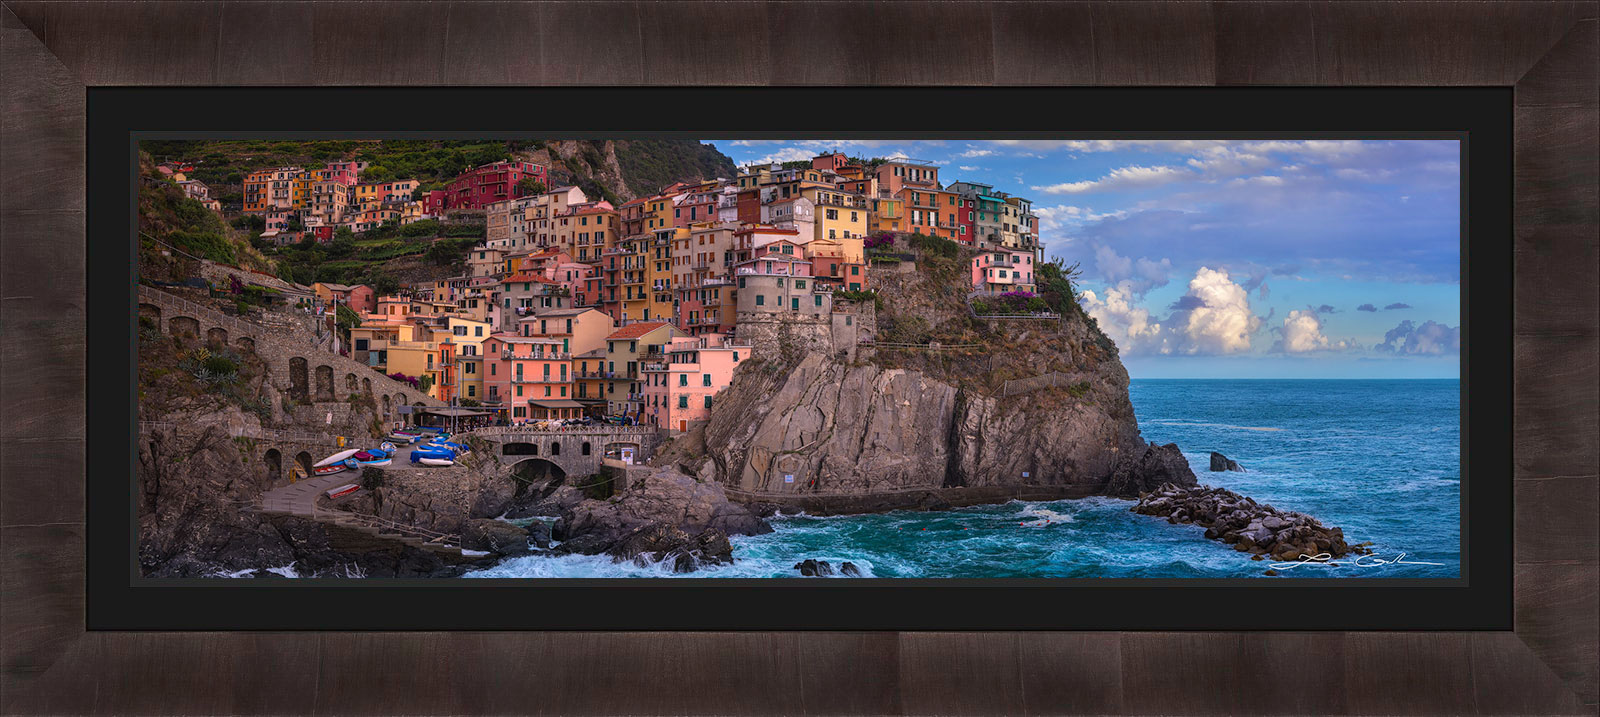
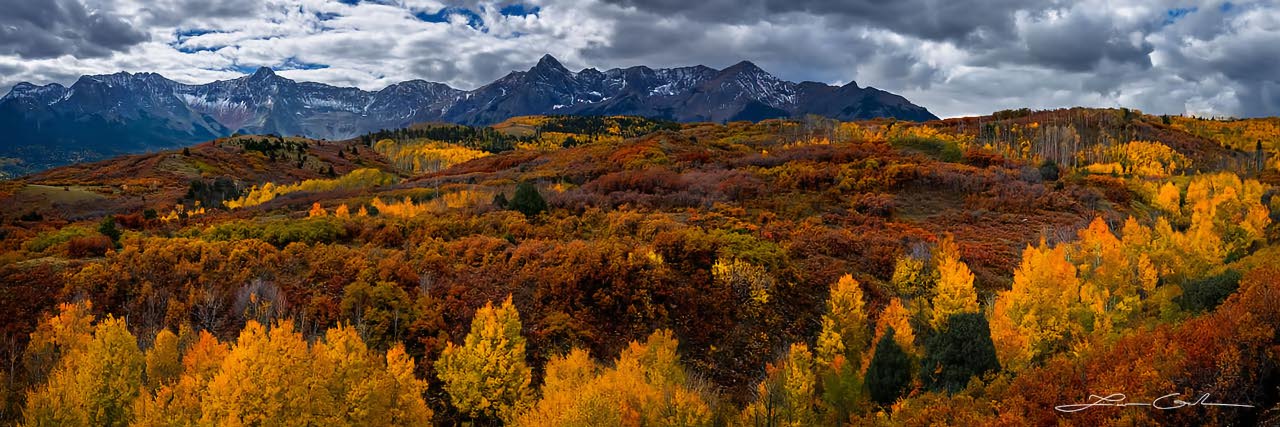
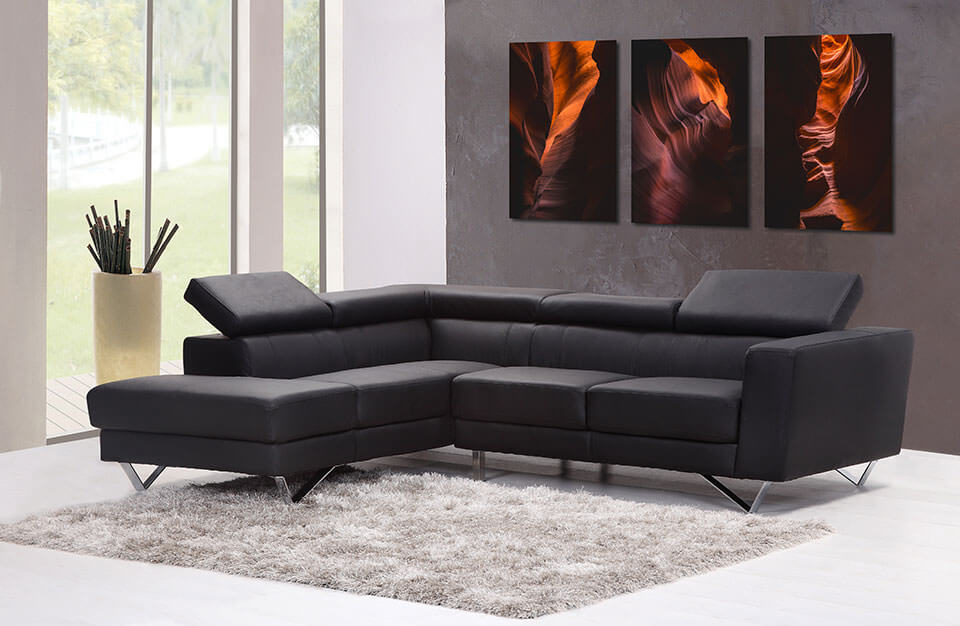
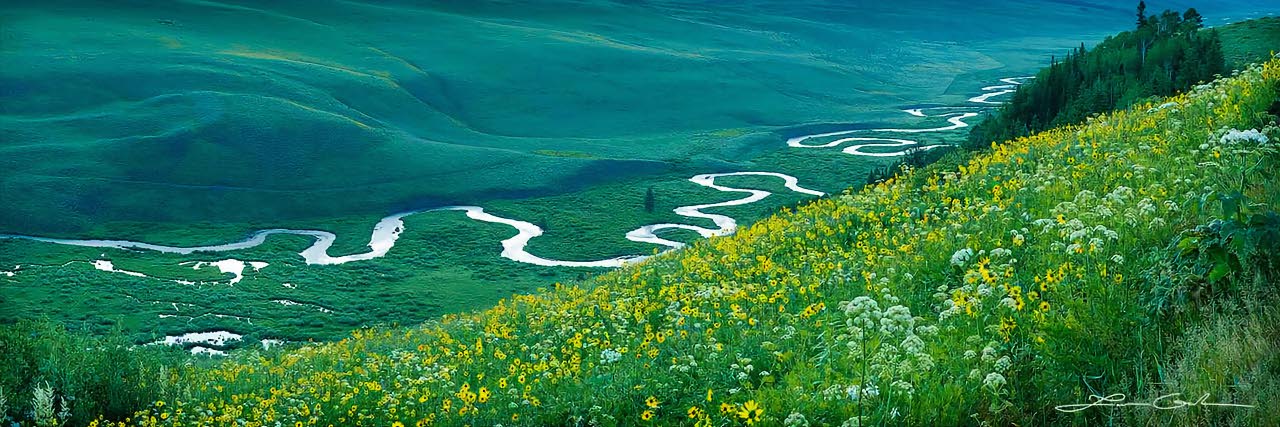
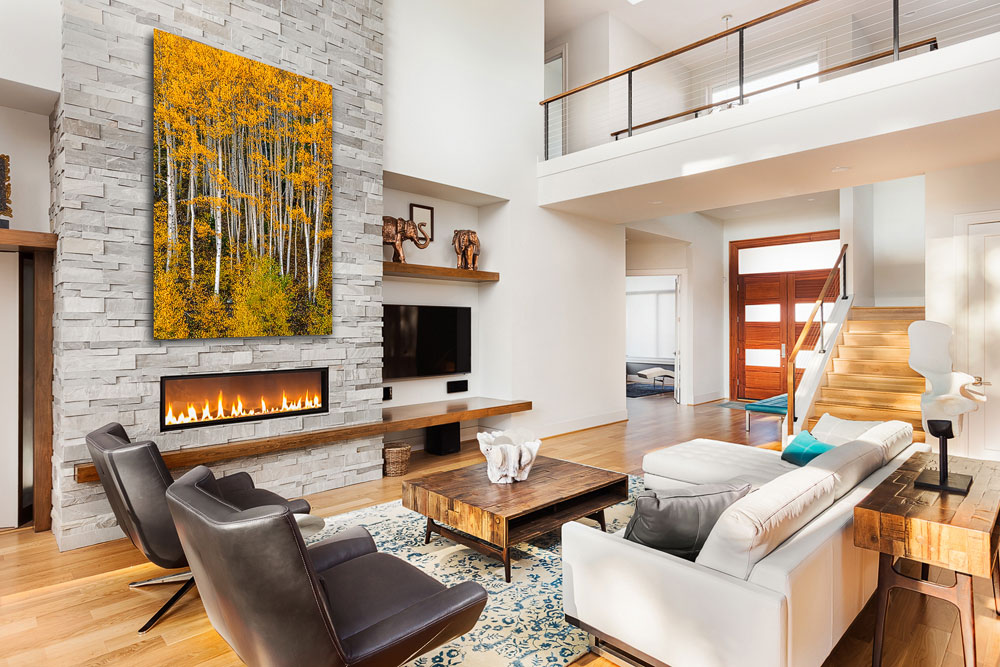
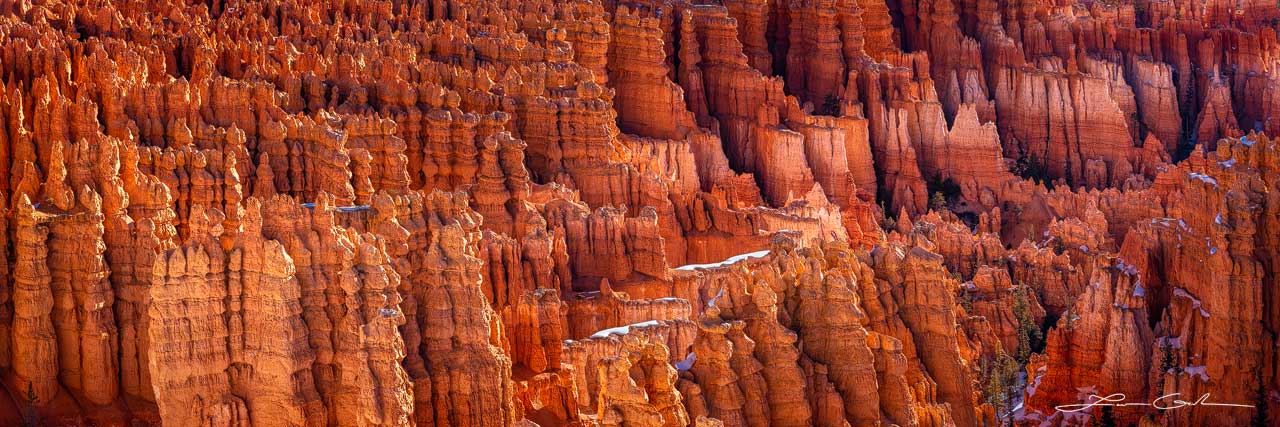
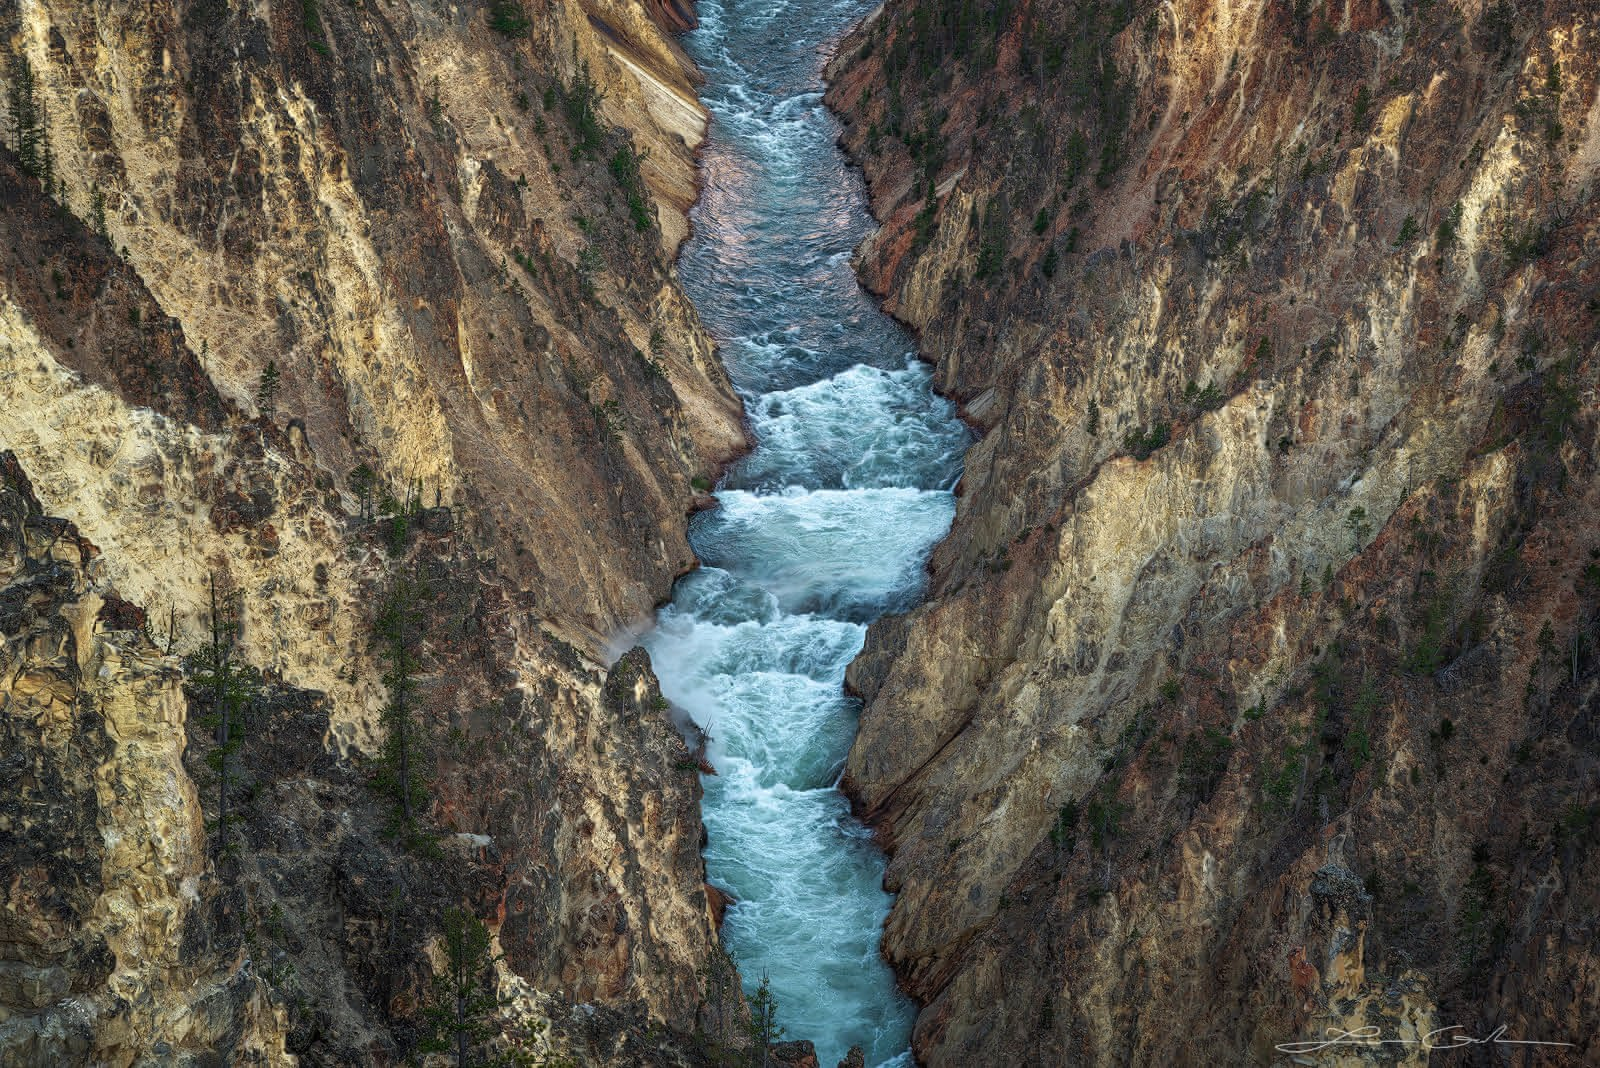
Interior Design With Nature Photography: Complete Guide
Whether you are an interior designer or an art collector, you have decided to use fine art nature photography for interior design. Your goal is
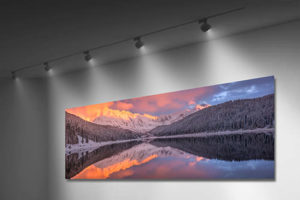
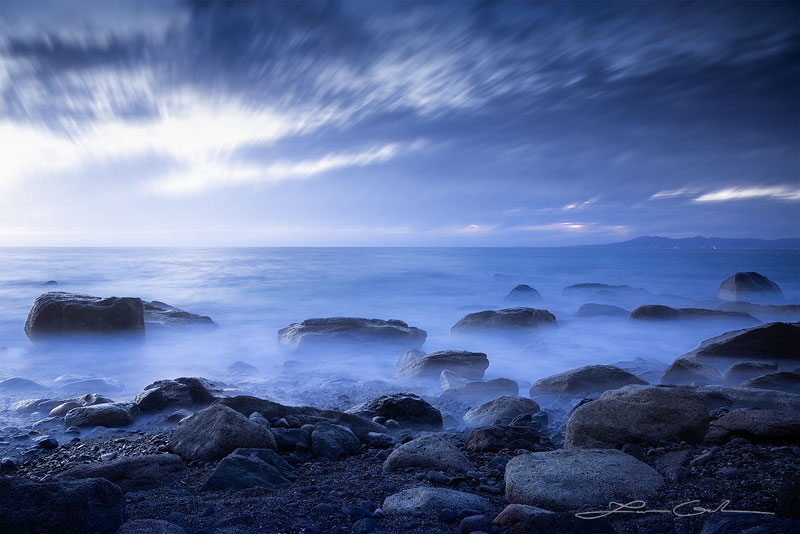
Photography Art Illumination Complete Guide
How to Light Fine Art Photography Prints and Wall Art Knowing how to light artwork in your home or business can be the difference between