When you’ve found the perfect landscape photograph to grace your home or office, the next critical step is choosing the right wall space to display it. The location where you hang your new artwork can dramatically impact how it’s perceived and appreciated, transforming the aesthetic of the entire room. For art collectors, understanding the nuances of selecting the best wall space is important for showcasing a piece in its full glory. This guide offers practical advice on how to find the perfect spot for your landscape photography print.
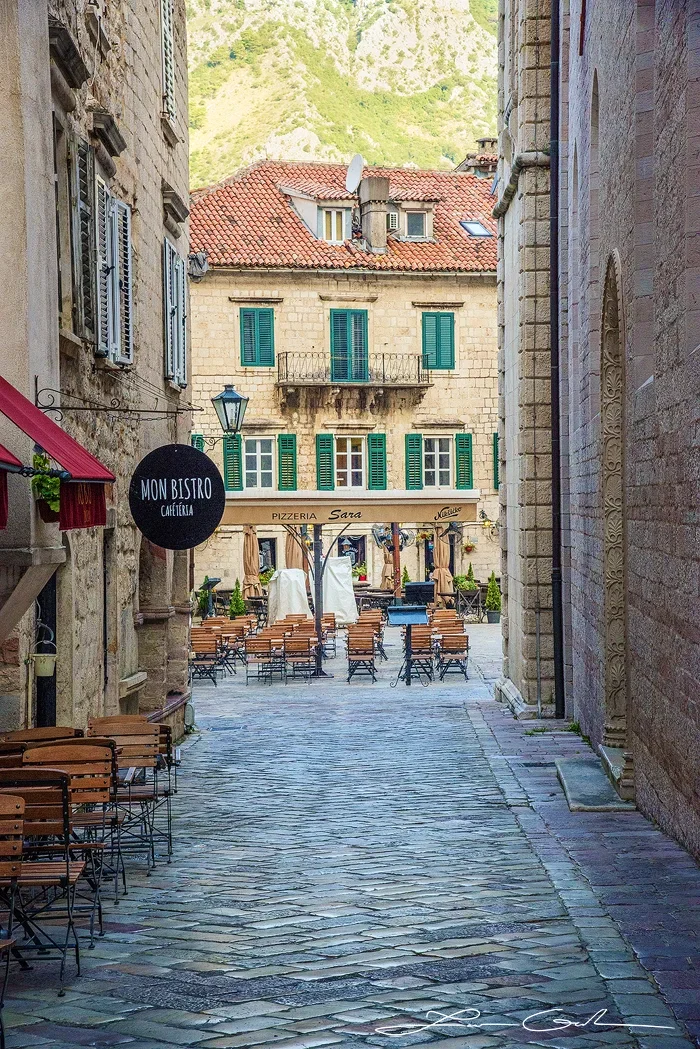
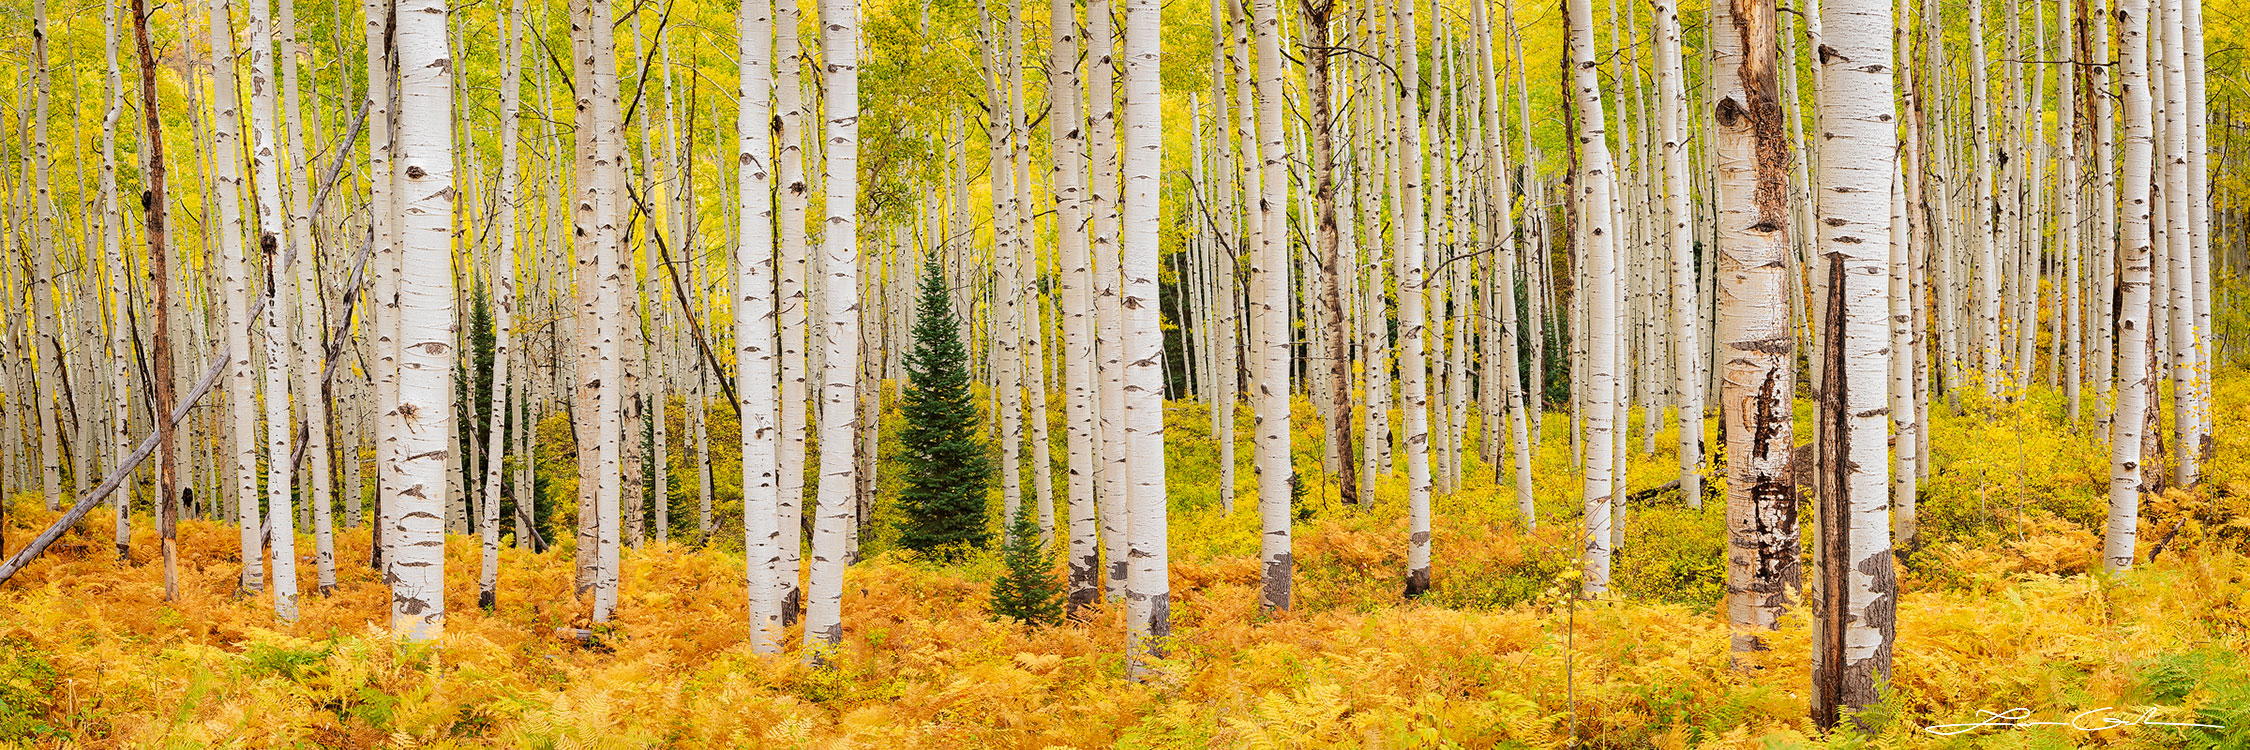
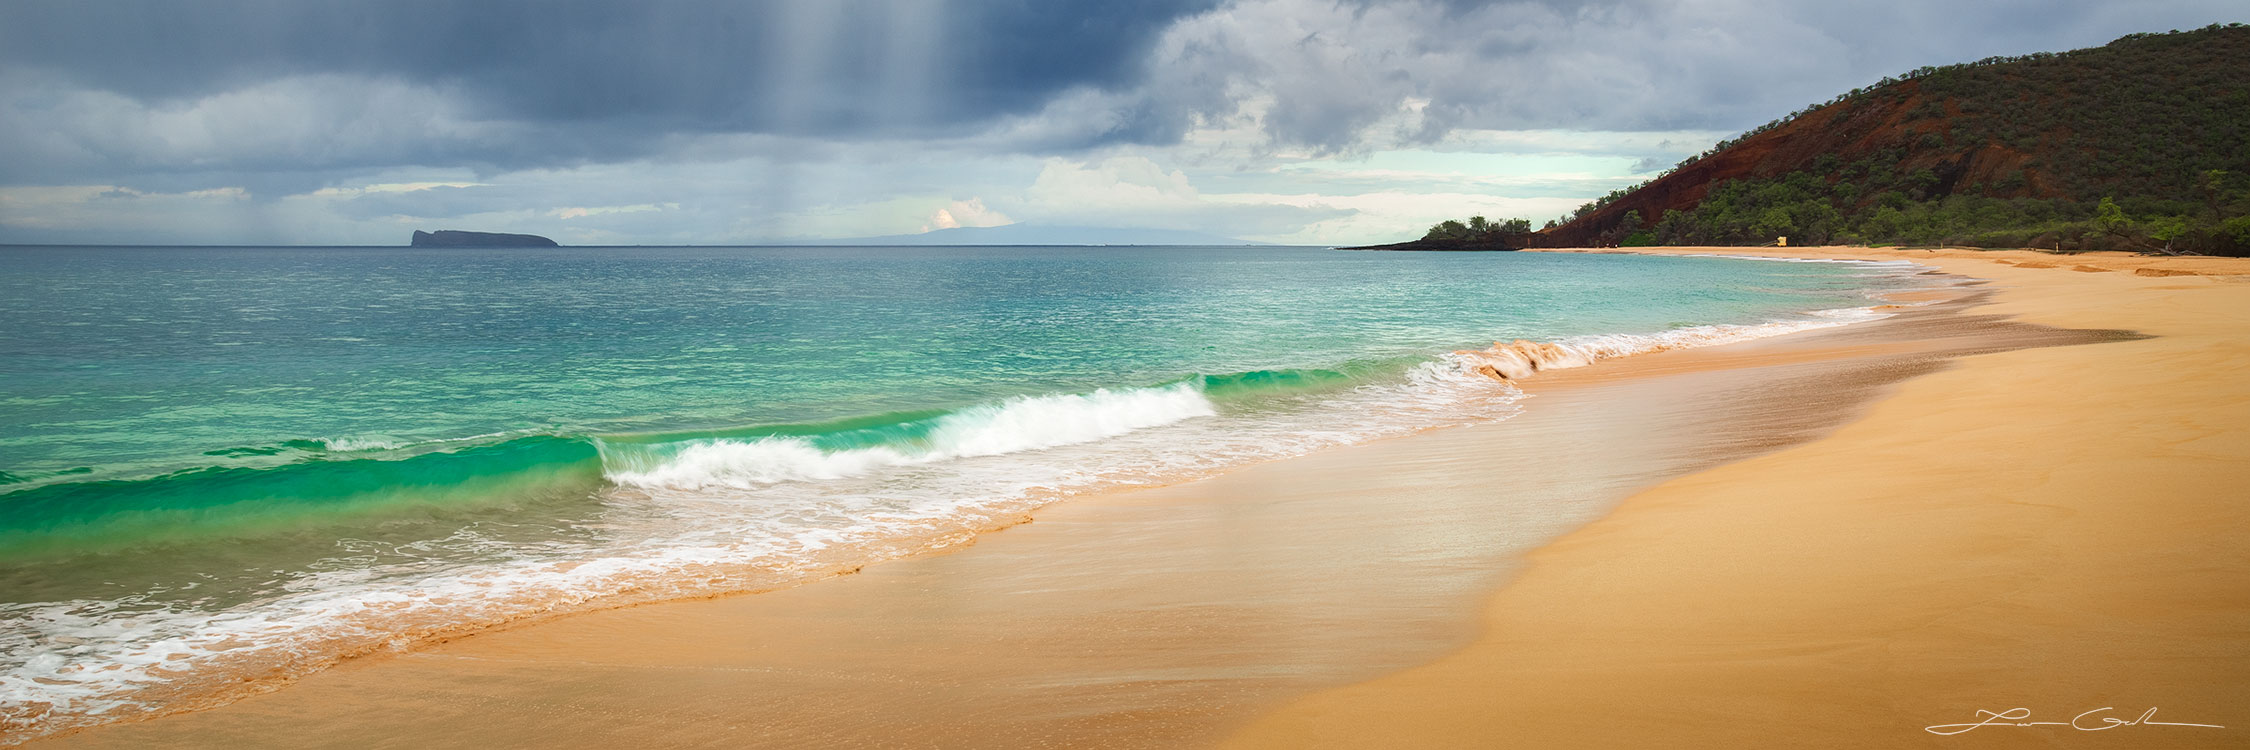
SHOP Landscape Photography Print – Autumn Joy
The placement of landscape photography can make or break the impact of the artwork. A well-placed piece can draw attention, bring emotion, and enhance the surrounding space. Conversely, a poorly chosen location might diminish its visual appeal, making even the most impressive landscapes seem underwhelming.
When considering placement, think about the following factors:
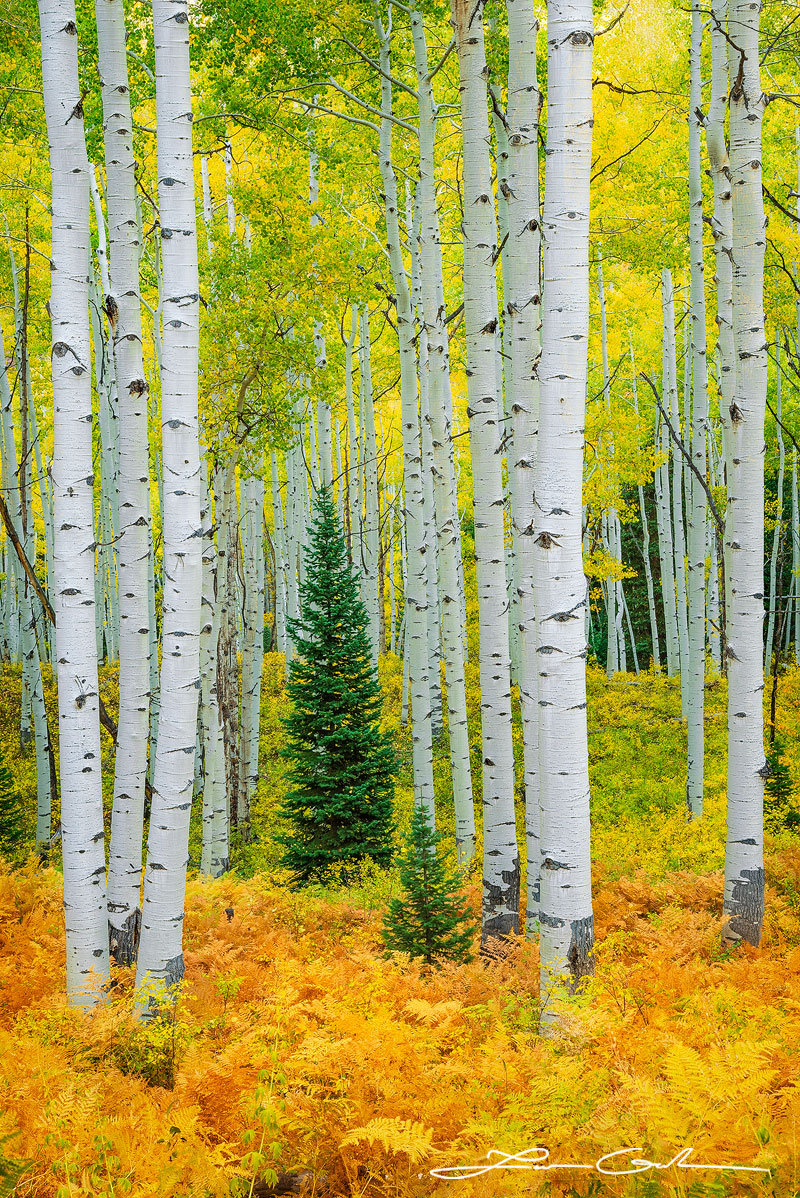
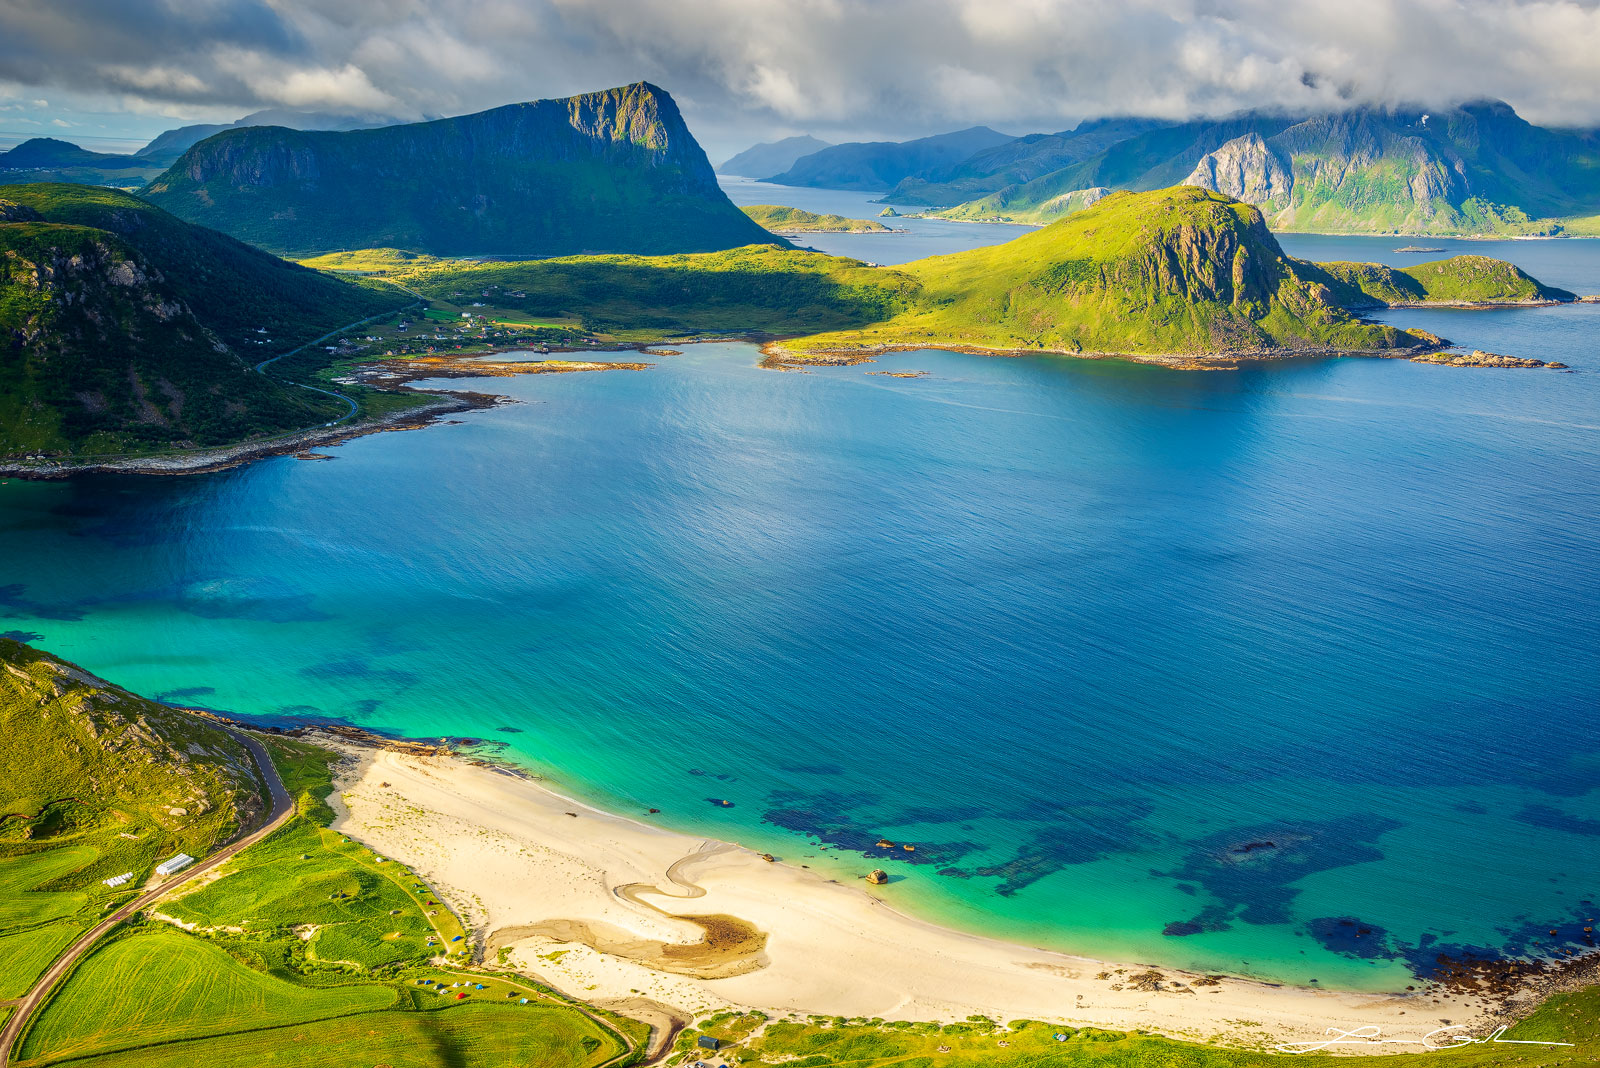
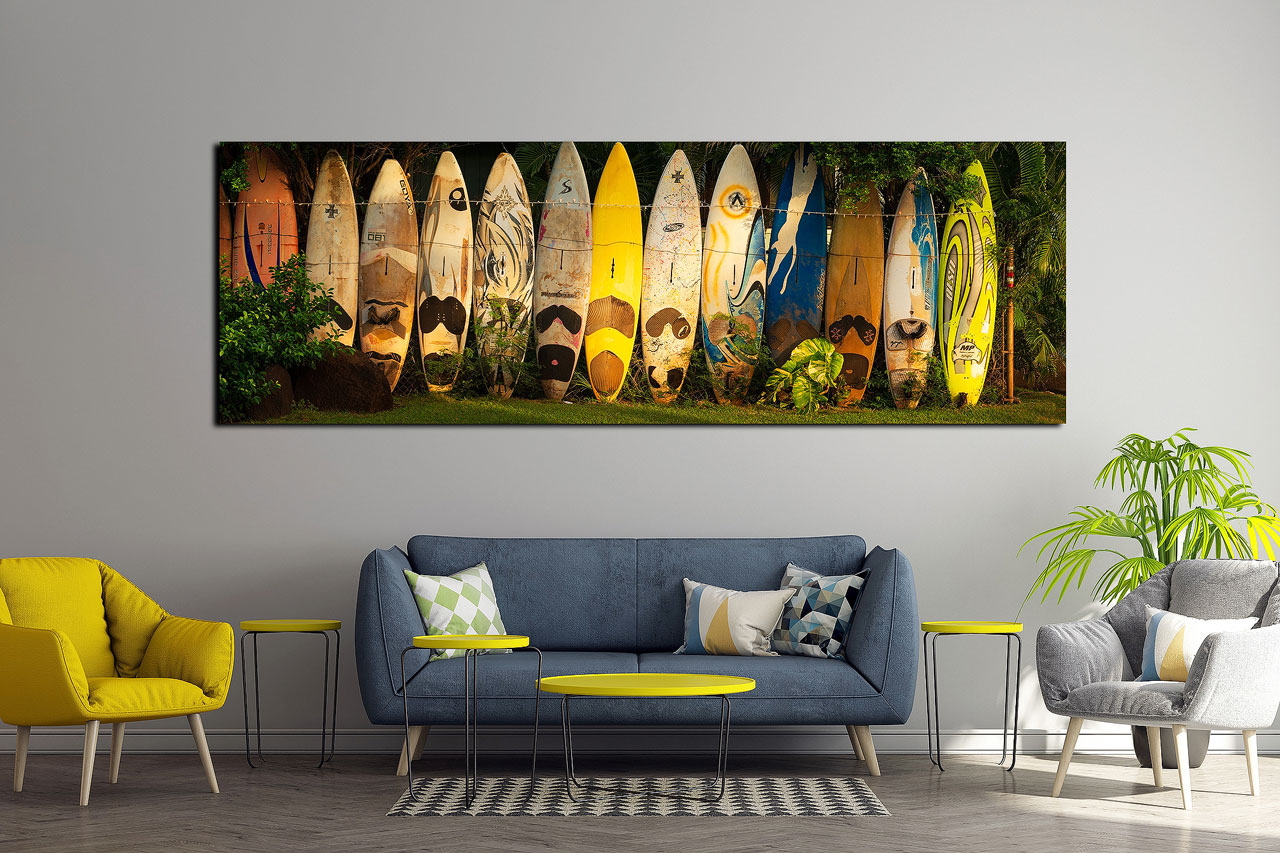
SHOP Landscape Photography Print – Solitude Sands
Before deciding on a specific wall, you should first consider which room in your home or office is best suited for the landscape photography print. Different rooms offer different atmospheres, and your choice should align with the mood of the artwork.
The living room is often the centerpiece of a home, making it an ideal location for a large, impactful landscape photograph. Here, the artwork can be a conversation starter or a focal point that ties the room’s design elements together. When hanging in a living room, choose a wall that faces the entryway or seating area for maximum visibility.
In a bedroom, landscape photography can create a calming and relaxing atmosphere. Consider placing the artwork above the bed or on a wall that you see first when you wake up. Soft, tranquil landscapes work particularly well in this space, contributing to a restful ambiance.
For an office, landscape photography can provide a refreshing break from the monotony of work. Opt for walls that are directly in your line of sight from your desk. Uplifting or inspiring landscapes can energize the space and foster creativity.
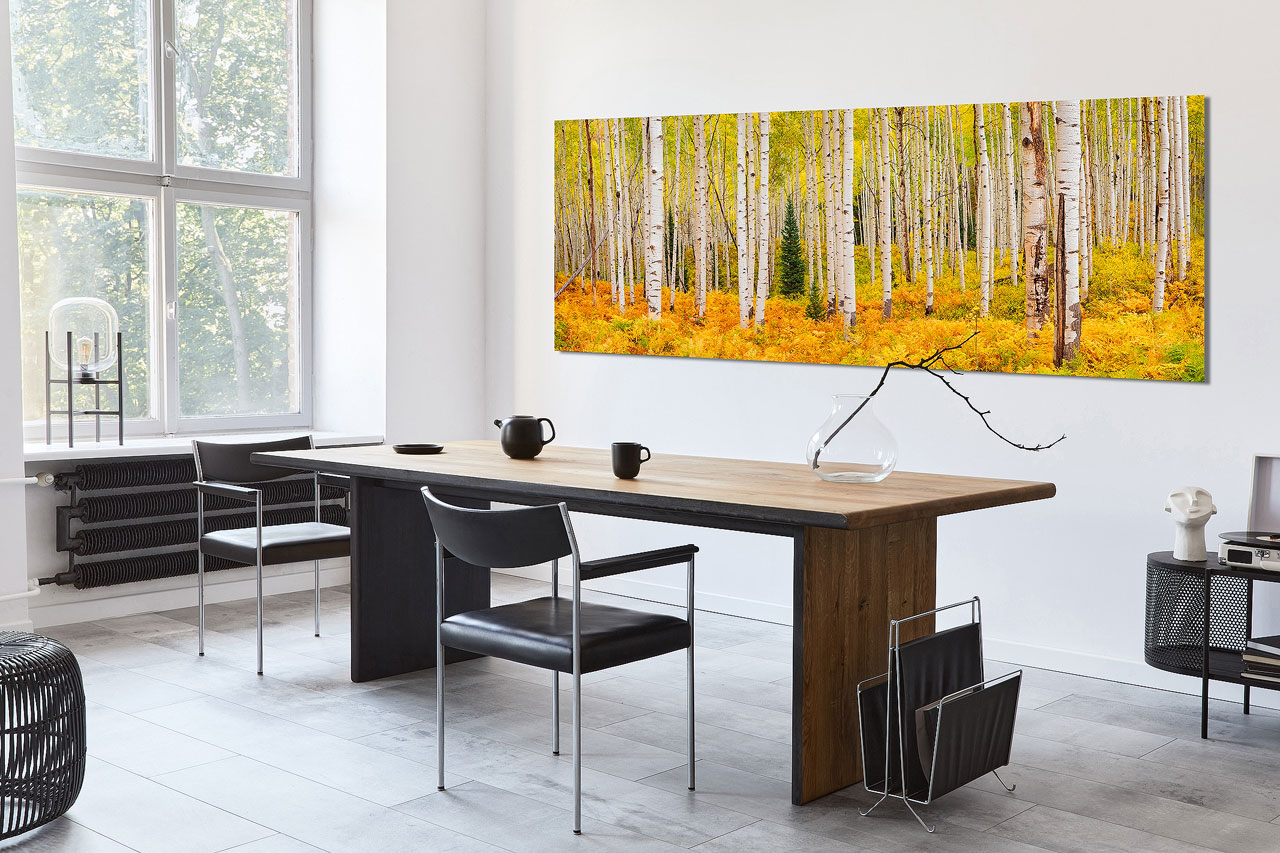
The dining room is another excellent location for landscape photography, offering a space where art can set the mood for meals and gatherings.
Hallways and entryways are transitional spaces that can benefit from artwork that draws you in. A series of smaller landscape prints can create a gallery-like experience, while a single large piece can make a bold statement.
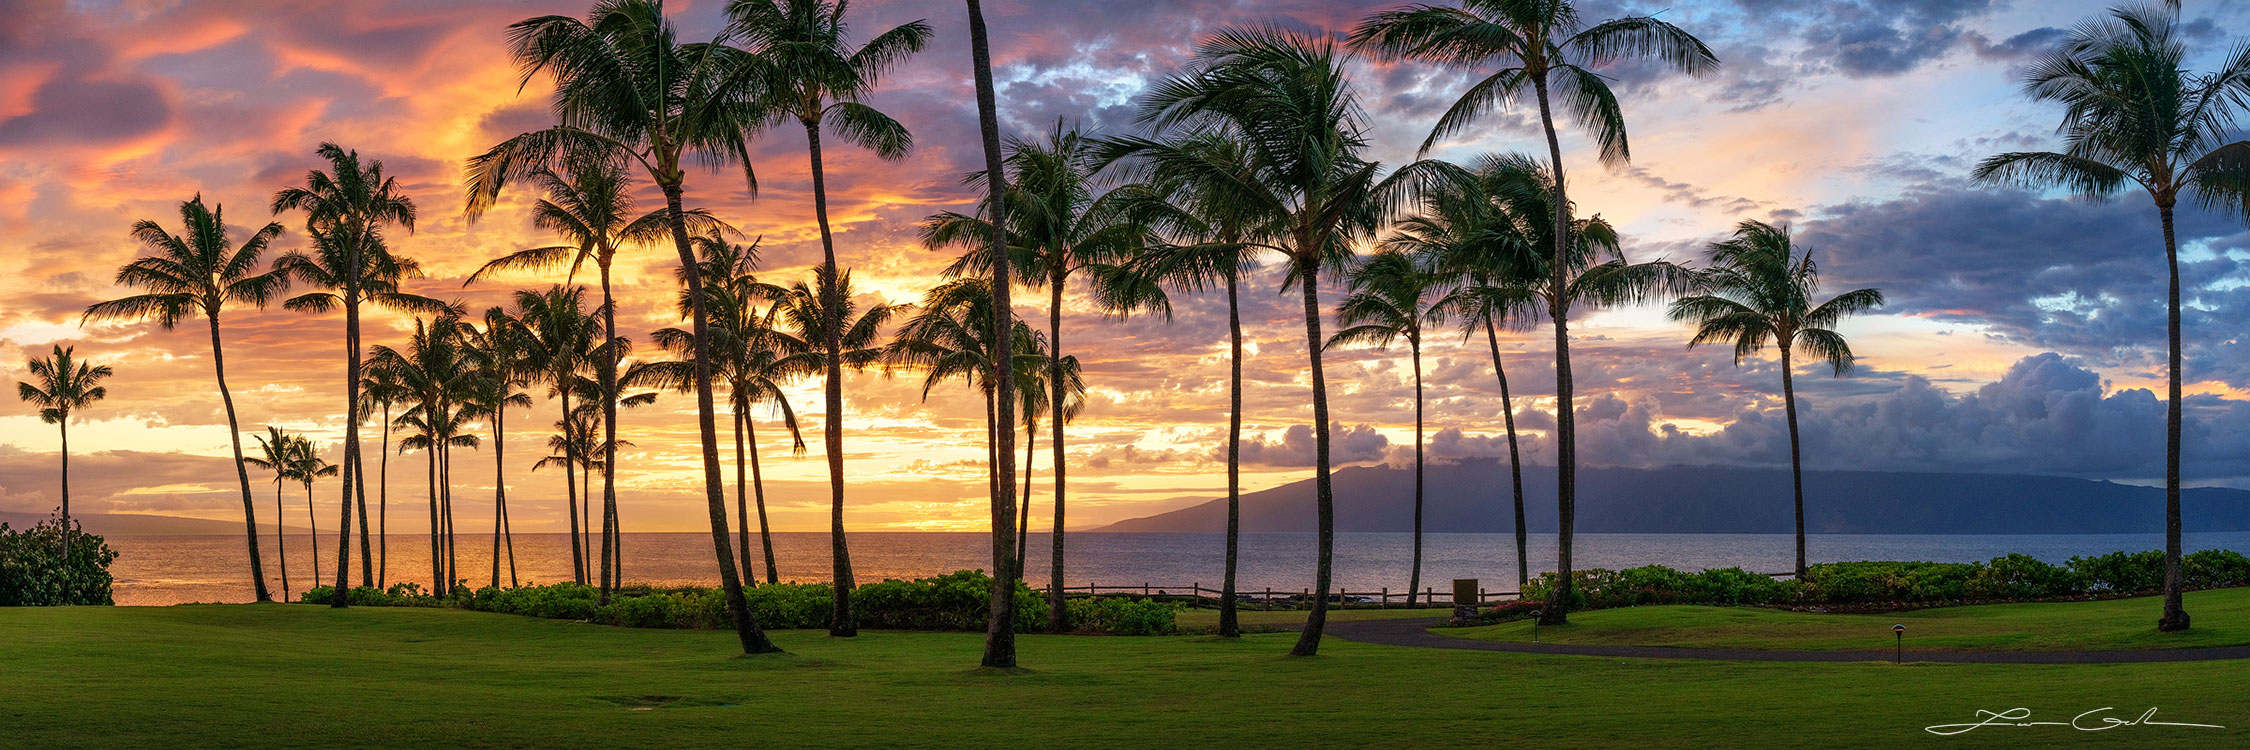
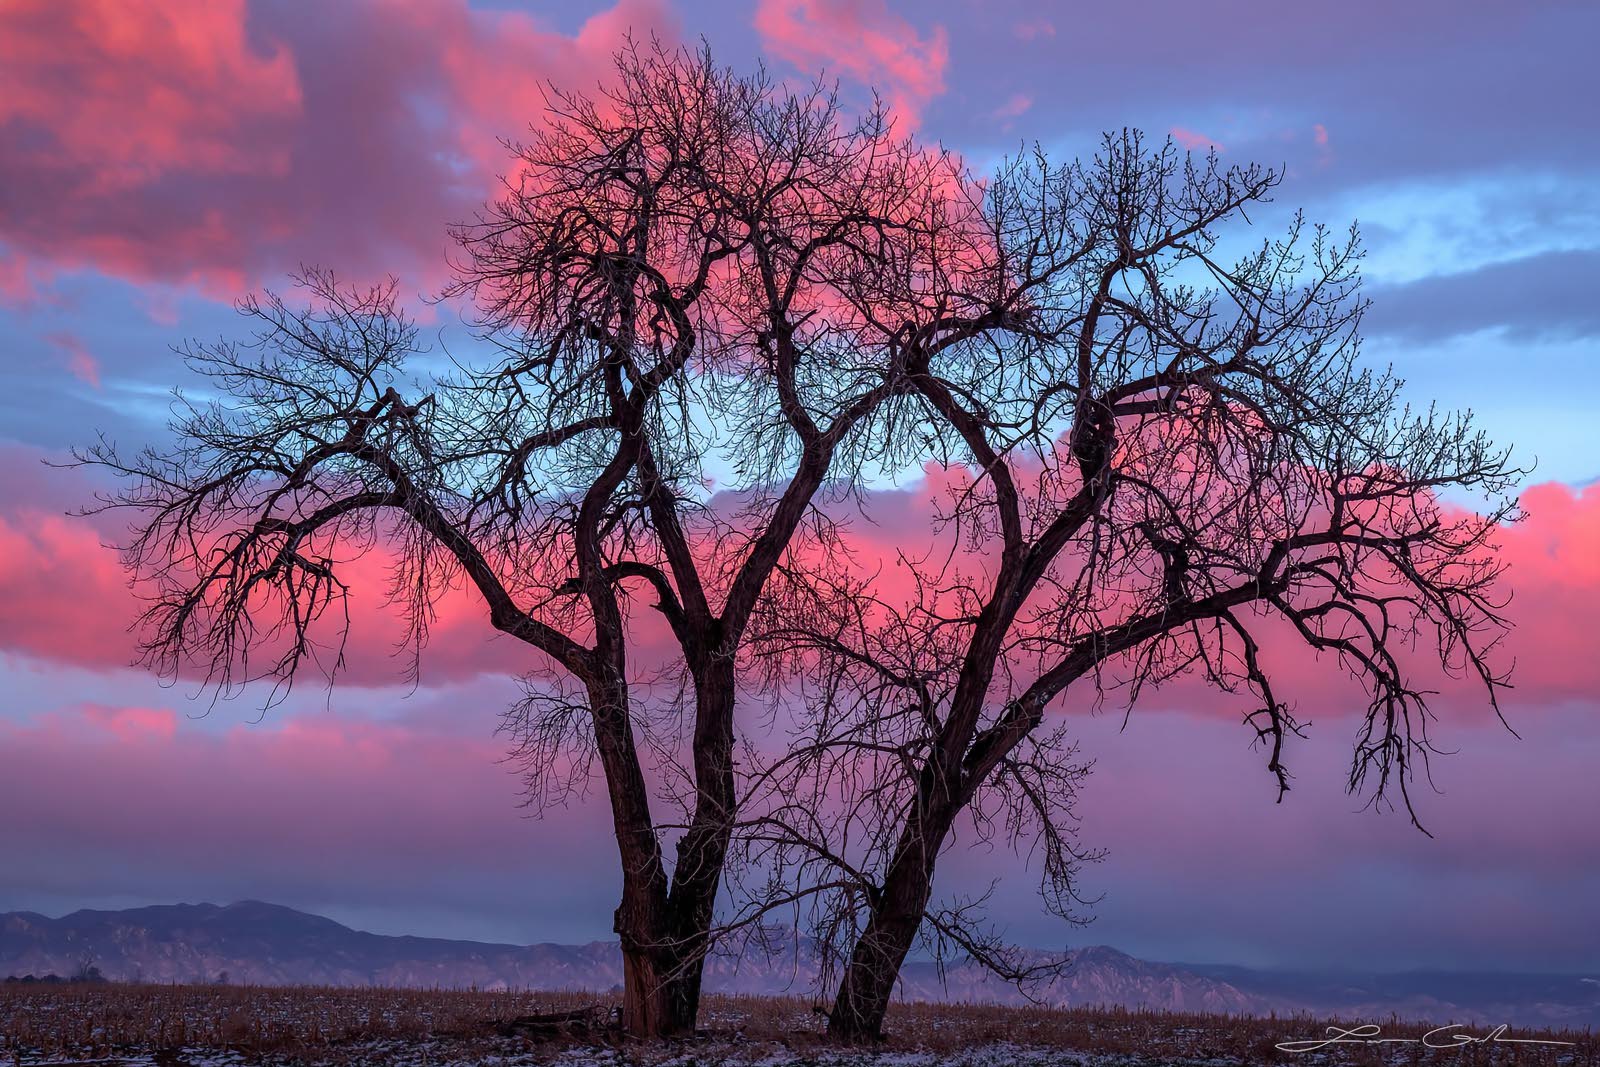
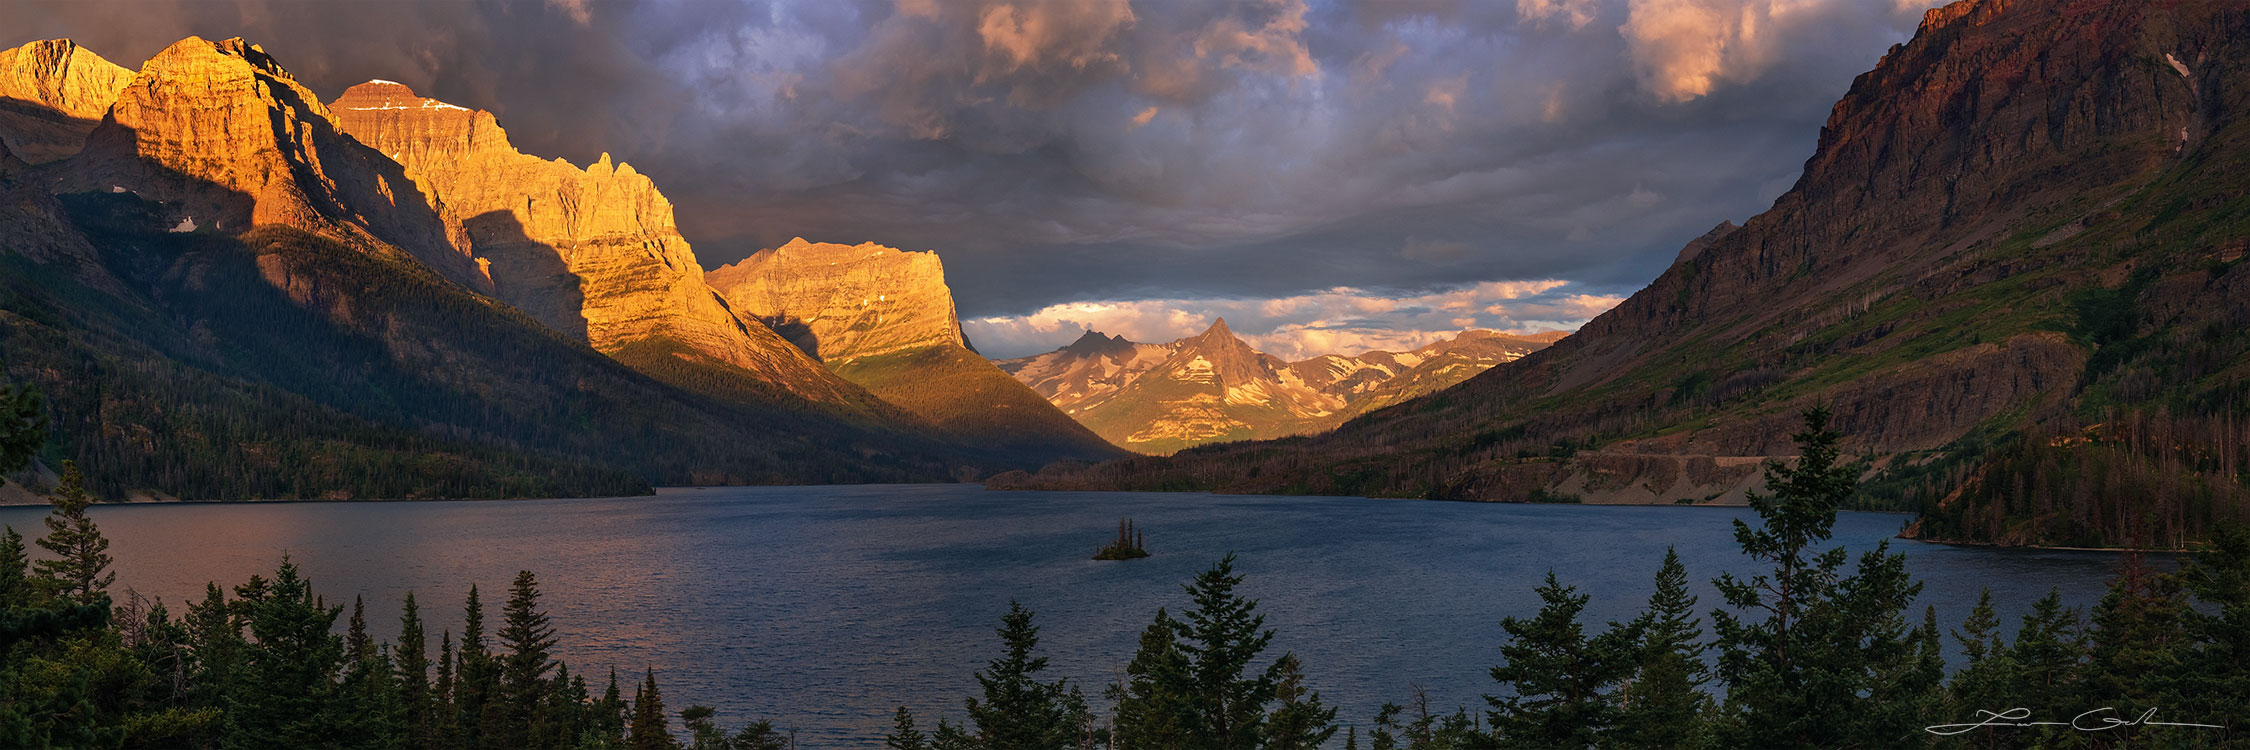
SHOP Landscape Photography Print – Hawaiian Spirit
Once you’ve chosen the room, the next step is selecting the specific wall. The size of the wall will dictate the size of the photograph you should hang. Here’s how to approach this:
For expansive walls, such as those in a living room or hallway, consider a large landscape print that fills the space without overwhelming it. The rule of thumb is that the artwork should take up about two-thirds to three-quarters of the available wall space. You can also create a gallery wall by arranging multiple smaller prints in a cohesive layout.
Smaller walls, like those found in bedrooms or offices, require a more delicate approach. A single, medium-sized landscape photograph can have a powerful impact without feeling cramped. Ensure there is enough space around the artwork so it doesn’t feel squeezed in.
Always consider the proportion of the artwork in relation to the wall and the surrounding furniture. For instance, a landscape photograph above a sofa should be roughly the same width as the sofa, or slightly smaller, to create a balanced look.
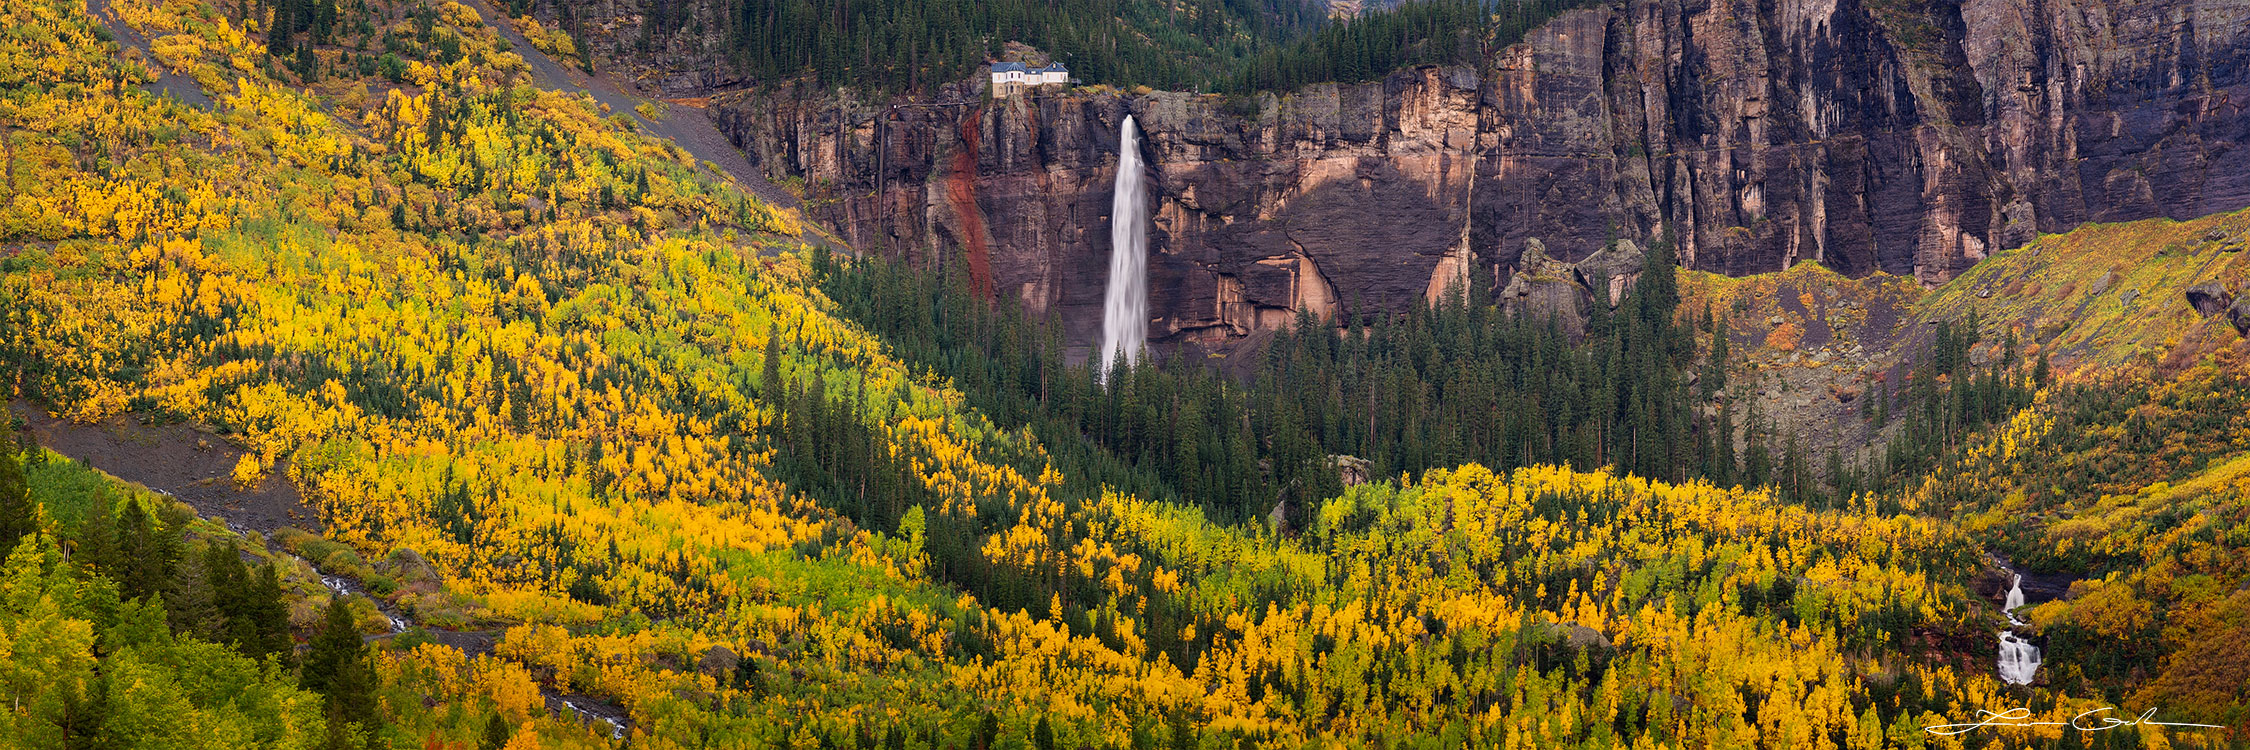
SHOP Landscape Photography Print – Grand Montana
Lighting plays a critical role in how your landscape photo print is perceived. Natural light is often the best way to showcase art, but artificial lighting can also be used effectively. Here’s how to evaluate the lighting in your chosen space:
Rooms with plenty of natural light are ideal for displaying landscape photography, as the light can bring out the nuances in color and detail. However, be mindful of direct sunlight, which can cause fading over time. If the chosen wall receives direct sunlight, consider using UV-protective glass in the frame or selecting a wall that’s indirectly lit.
In rooms with limited natural light, or for evening display, consider installing art-specific lighting such as picture lights, track lighting, or wall washers. These options can highlight the artwork and create a great effect, enhancing the visual impact of the landscape.
Be aware of potential glare and reflection from windows or light fixtures, which can obscure the view of the photograph. Matte finishes on the print or glass can reduce glare, ensuring that the artwork is always visible and appreciated.
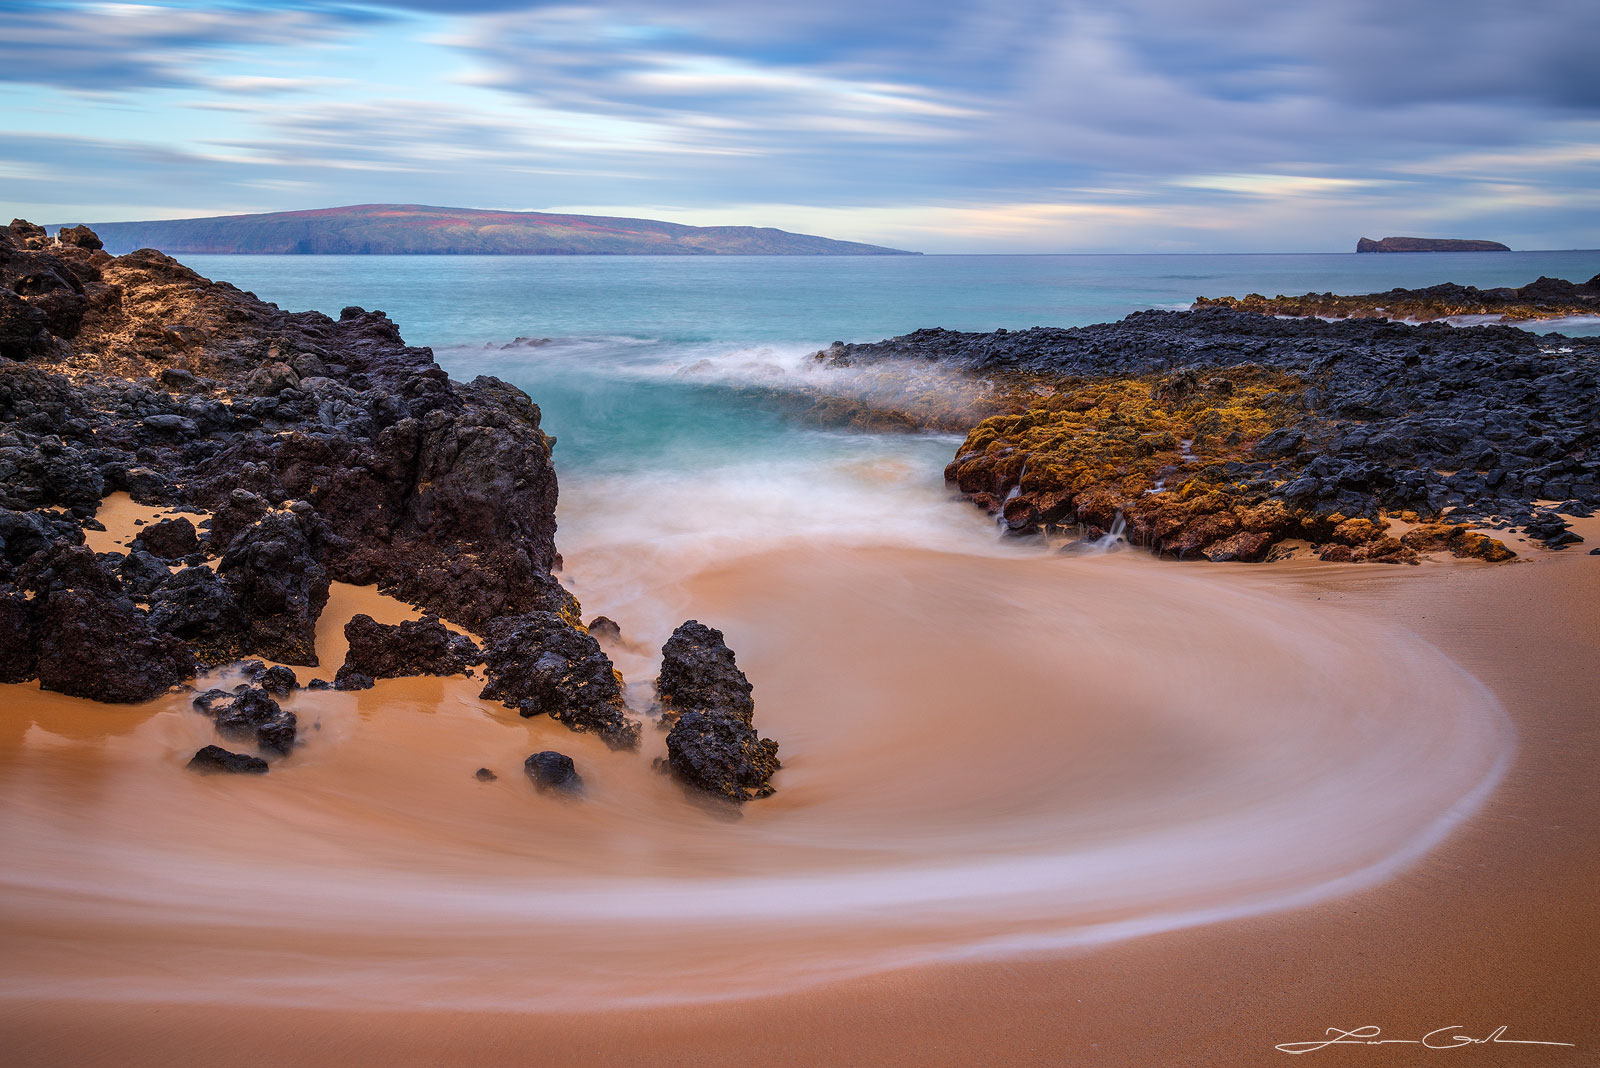
SHOP Landscape Photography Print – Whirlflow
The color scheme and style of the room should complement the landscape photography. Here are some tips for achieving harmony between your artwork and the existing decor:
Consider the dominant colors in your landscape photograph and how they interact with the room’s color palette. For instance, a landscape with cool blues and greens can enhance a room with neutral or cool-toned decor, while a vibrant sunset photograph might be the perfect accent in a warm-toned space.
If your room has a specific design style—whether it’s modern, rustic, or traditional—choose landscape photography that complements that style. A minimalist, black-and-white landscape might suit a contemporary room, while a more detailed, painterly landscape could enhance a classic or vintage-inspired space.
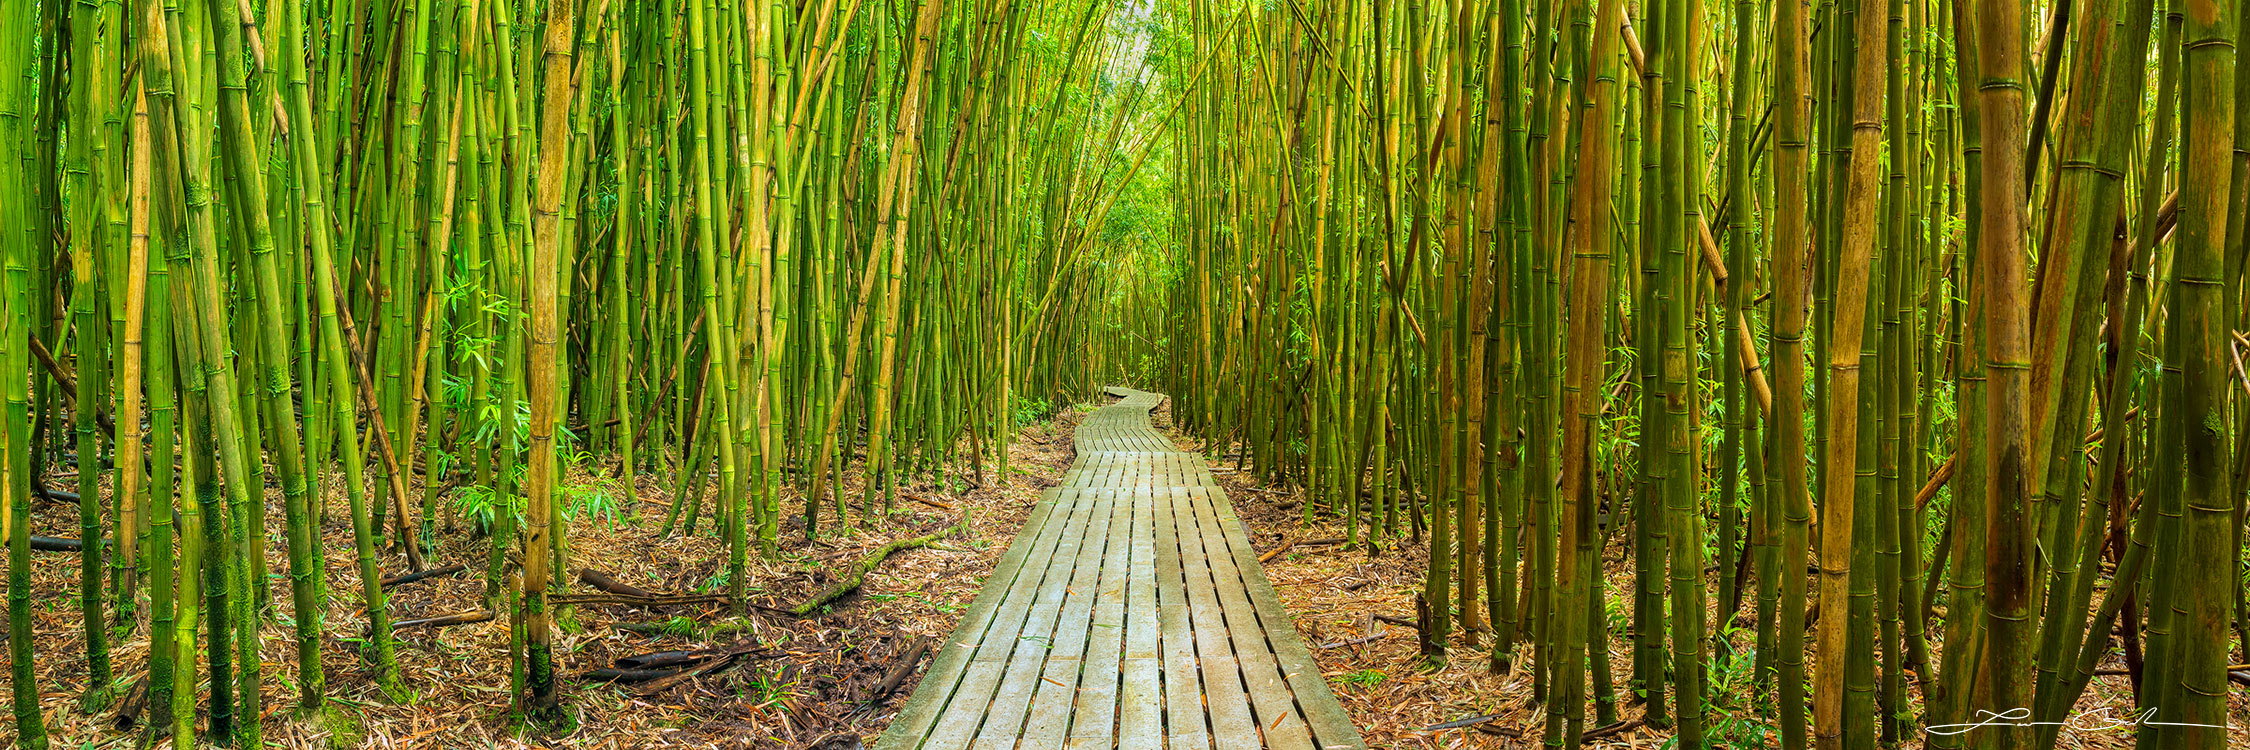
SHOP Landscape Photography Print – Path Of Meditation
The height at which you hang your landscape photograph is just as important as the wall you choose. Correct placement ensures that the artwork is at eye level and easy to view.
The general rule is to hang artwork so that its center is at eye level, which is typically around 57 to 60 inches from the floor. This guideline works well in most settings but can be adjusted based on the room’s function or furniture placement.
When hanging landscape photography above furniture, such as a sofa or a bed, leave about 6 to 12 inches of space between the top of the furniture and the bottom of the frame. This creates a cohesive look without making the room feel cluttered.
If you’re displaying multiple landscape photographs together, treat the grouping as a single piece. Arrange them so that the center of the group is at eye level and ensure equal spacing between each frame for a polished appearance.
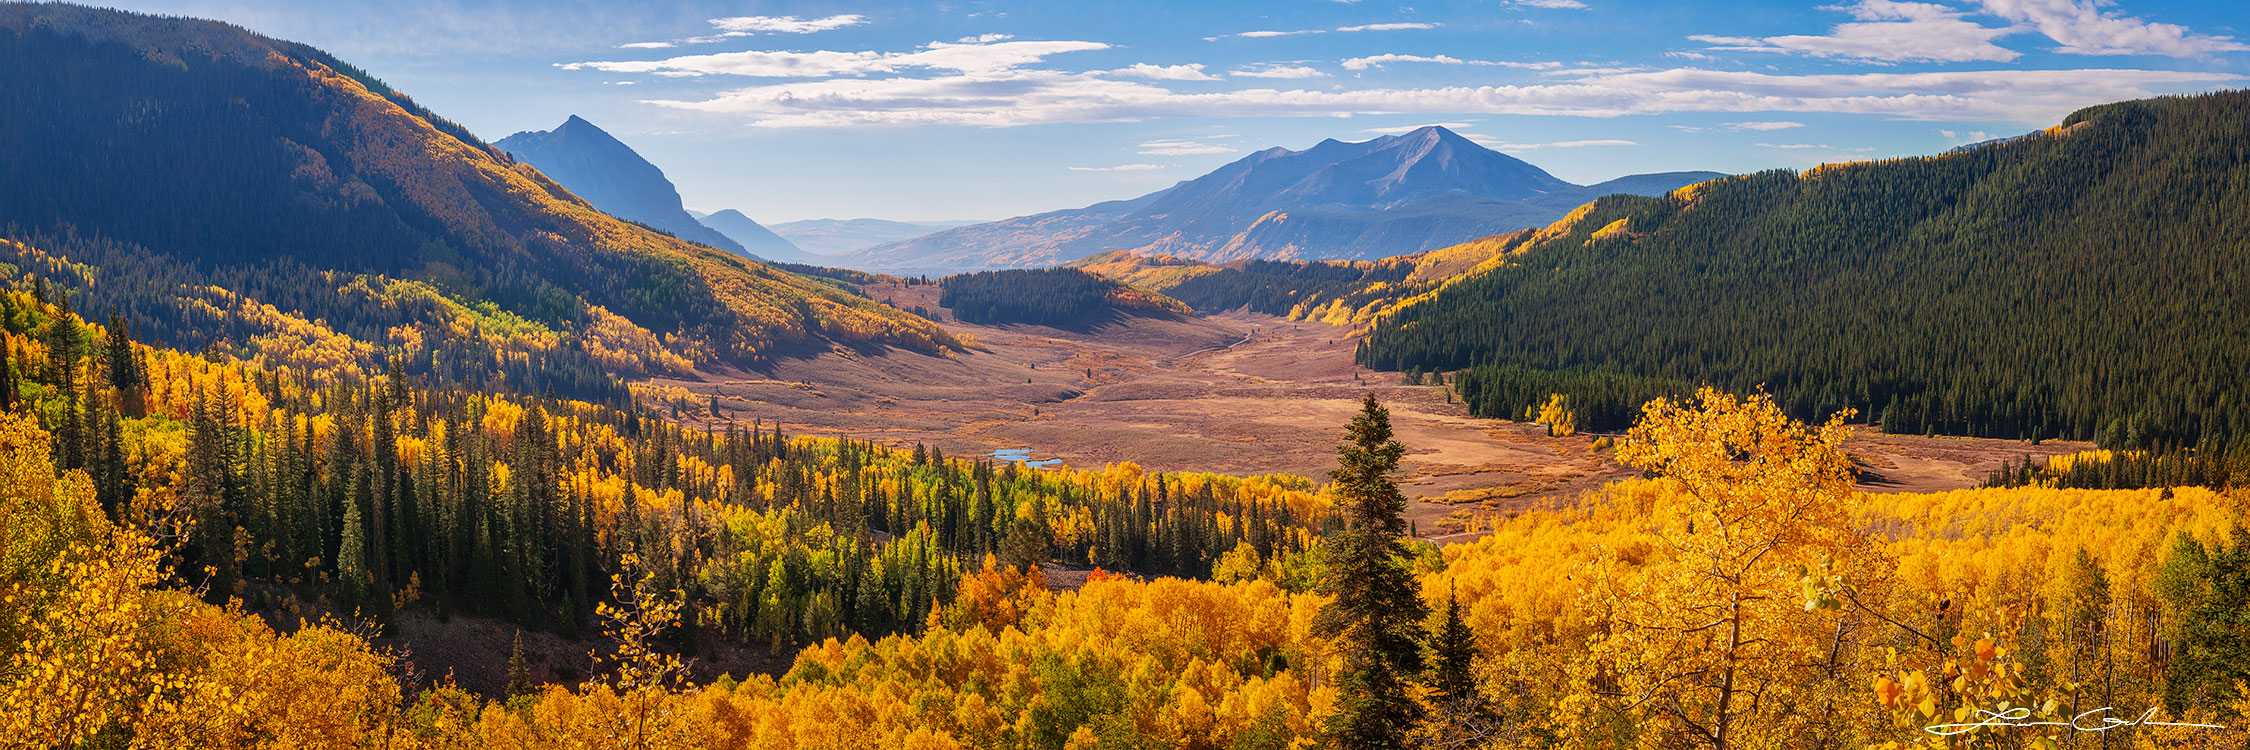
SHOP Landscape Photography Print – Golden Valley
After considering all these factors, take a moment to evaluate the chosen spot before committing to hanging the artwork. Use painter’s tape or paper cutouts to visualize how the landscape photograph will look on the wall. This step can help you make any necessary adjustments to placement, size, or grouping.
Choosing the perfect wall space for your landscape photography print requires thoughtful consideration of room dynamics, wall size, lighting, and style. By following these practical guidelines, you can create a gorgeous display that not only showcases the beauty of the artwork but also enhances the overall atmosphere of your home or office. Remember, the right placement can turn a beautiful landscape photograph into a transformative element that elevates your space to a new level of aesthetic excellence.